This post is mostly about seed starting. For those of you that don't start your own seeds, I strongly encourage you to do it. If you get Patti the Garden Girl's newsletter, there is a great article in it telling you step-by-step how to do it. I was asked to write an article on the subject, but thankfully they chose the one they did. It was far better. The author went above and beyond. That said, I spent the time on it, so if they aren't going to publish it, than I will. Hope you get something out of it.
"Seed Starting Under Lights
Winter is in full force in the northern hemisphere and most of us are pining for spring when we can garden again. It doesn’t help that we have been receiving spring catalogs in the mail left and right, teeming with lush flowers and vegetables. Unfortunately most of us live in areas where the time for direct sowing of seeds is long off. Sure you could buy seedlings, but in today’s economy, it is more rewarding than ever to grow your own from seeds. Last year I decided to do just that.
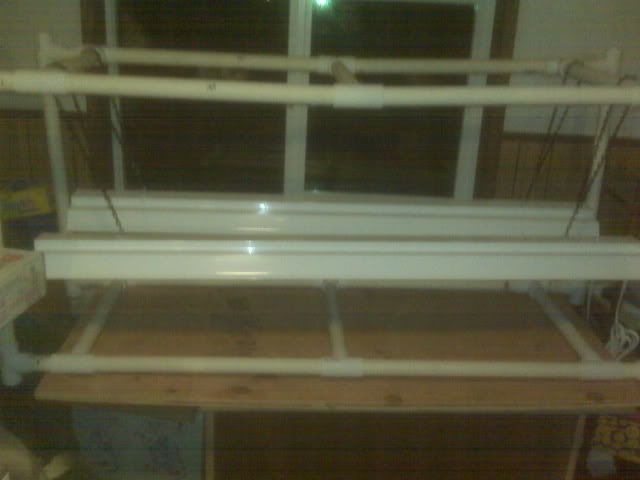
First you need to find a good shelf area approximately 18-20 inches high and purchase fluorescent shop lights to fit inside. In my case, I had no good shelf system, so an internet search found a cheap PVC system that could be quickly assembled and dismantled as needed. I made a 4 foot structure that would perfectly fit 4 foot lights. Rather than purchase expensive grow bulbs for the fixture, buy two cheaper bulbs at opposite ends of the light spectrum to give the plants the same light at a fraction of the cost. You also may need to purchase longer chains for the lights so they can be raised or lowered as needed.
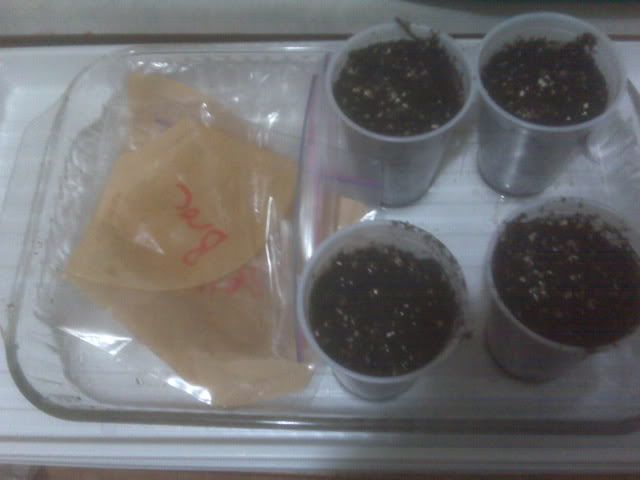
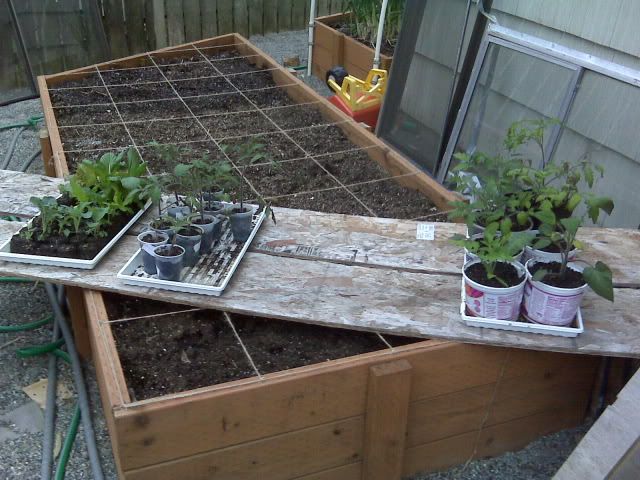
Once you have your light setup ready, follow the seed starting instructions for your local area or on the seed package. Each vegetable has its own schedule for indoor seed starting. Seeds need to be germinated in warm, moist conditions. They can be planted in dirt before or after germination. I did it both ways depending on the plant variety.
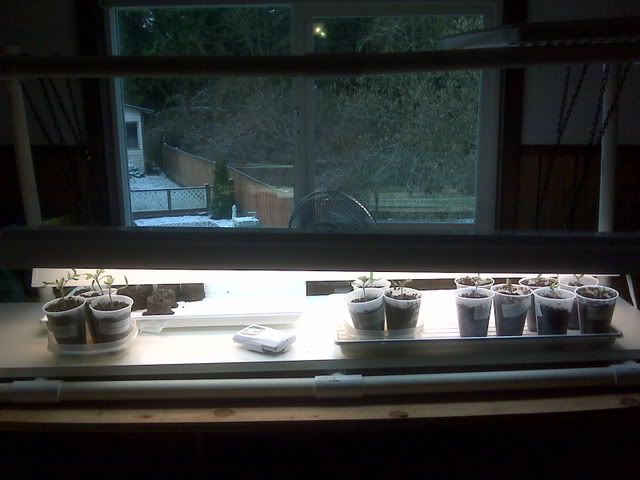
Once the seeds have sprouted, make sure they are under lights approximately 12 hours a day. I accomplished this with a timer attached to my surge protector for the lights. The plants also need approximately 8-12 hours of darkness from the very beginning to simulate night. A fan on low can be used to simulate wind and grow hardy stems. As the individual seedling grow, move them around and adjust the chains to keep the tops of the plants 1-2 inches from the bulbs. I moved them around every few days when I watered.
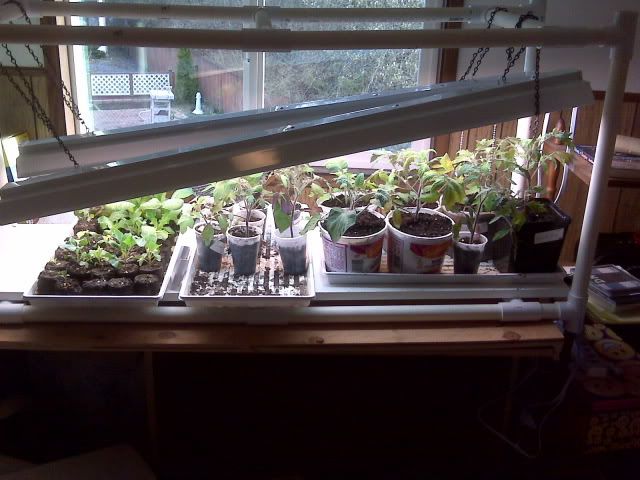
A few weeks before transplanting into the garden, it is important to harden off your plants. They need to become acclimated to the outdoors in order to survive and grow to maturity. I like to start with a few hours on a day without rain or strong winds, adding an hour or so a day over two weeks until they are out all day long. Time the end of the two week hardening off period to coincide with the appropriate planting out date for each variety in your area based on your last frost date. An internet search can help with that, or you can call your local extension office. You can also get more details online for anything touched on here.
Once you have the light system built, it is very simple to grow your own seedlings year after year. There is no end to the plant varieties you can grow for your family and friends. Or you could grow seedlings for profit to recoup the costs of your light system. Winter is the perfect time to start growing your own seedlings indoors. It is the perfect cure for the cold-weather blues and garden fever."
There it is. I hope it encourages you to get out and start some seeds, maybe even some uncommon ones that may open your palate up to new and interesting flavors.
Enjoy your garden!