If it's June in the Pacific Northwest, it must be the start of strawberry season. For a month or so I've watched the flowers bloom and the plants grow strong and healthy. I've also seen berries form and plump up. Having grown up with the tiny berry plants, it's good to see that I've got slightly larger varieties. I have no idea what variety I've got, but June bearing comes to mind. Anyway, I'm just thrilled to get a harvest this year. If you recall last year my young boys harvested all the berries one morning before we got up, ripe or otherwise.
So, you can imagine our thrill to see berries ripening all over my berry bed.
![]()
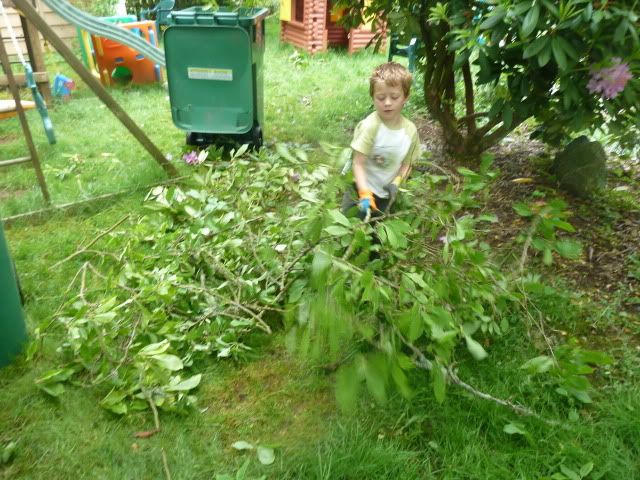
This year, the boys have been sternly warned not to pick any berries without mom or dad around. So on Logan's last day of school, as a treat we went picking. Anything that was fully ripe and in danger of being eaten by slugs or birds was harvested. We got a very good harvest and left several more fairly ripe berries in the garden.
![]()
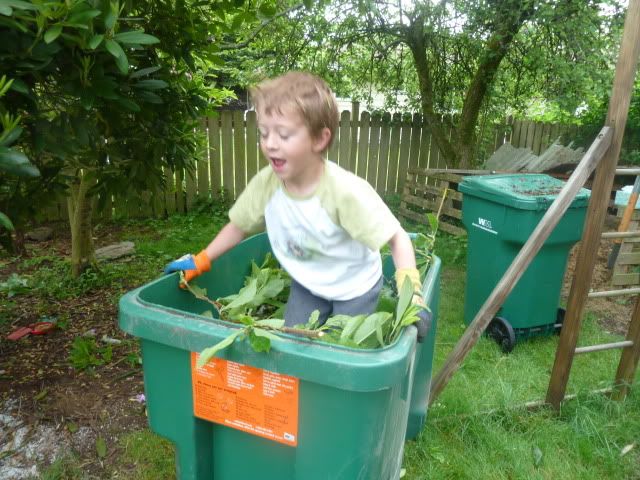
As you can tell the boys had a blast!
![]()
I think he looks happier than his brother, don't you?
![]()
Over the last few weeks or so, we've been working through a Costco flat of strawberries. In my experience, they've been tough and relatively flavorless. These babies on the other hand, melted like butter on a hot day when I was cutting the stems off. The girls didn't seem to have an opinion on which they liked better, Costco's or mine. They devour the tops in one gulp. We on the other hand, were in heaven eating those perfectly sweet and tart juicy red pouches of goodness. Makes my mouth water just writing about them. Tomorrow we'll have to harvest more! And to think we've got close to 100 berries left on the plants in various stages of growth! That, and the plants continue to send out runners that I train to go where I want. MUAHAHAHAHAHA! Soon will be blueberry season! Yum!
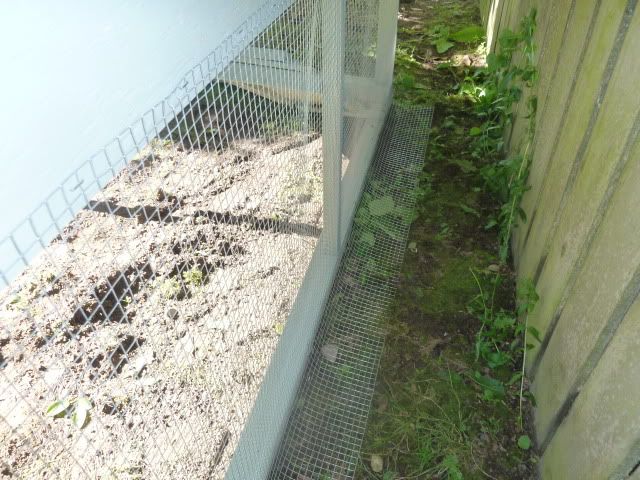
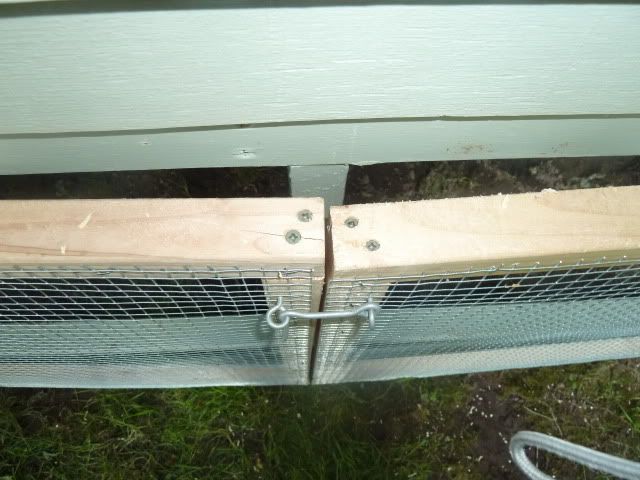
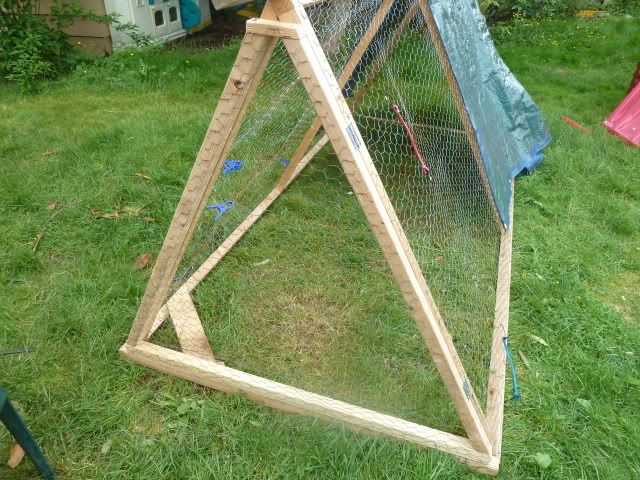
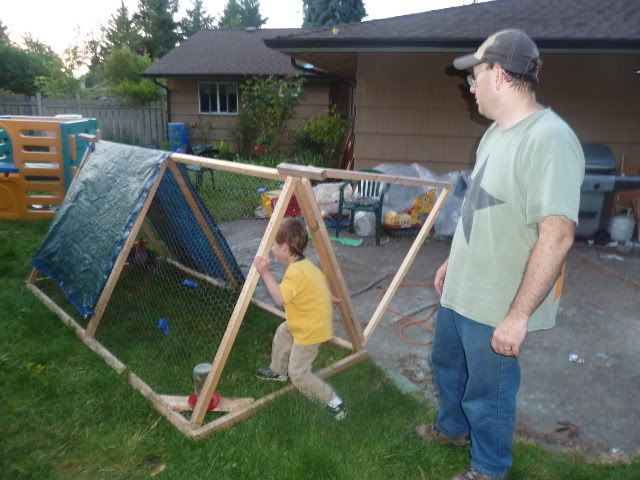
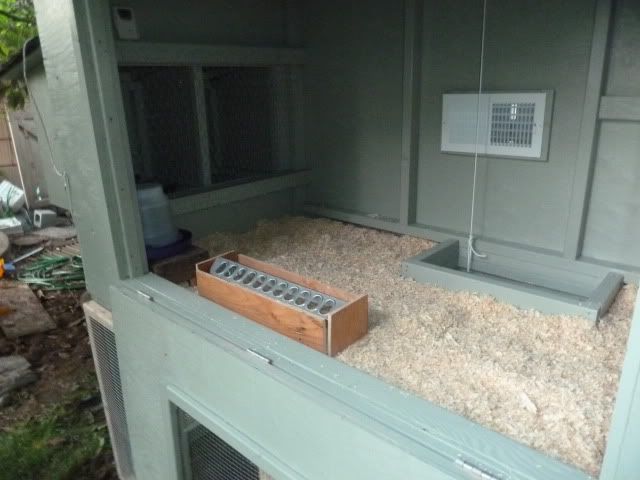
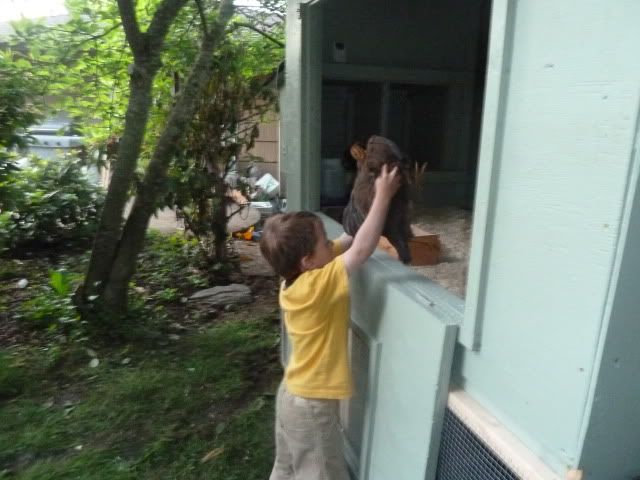
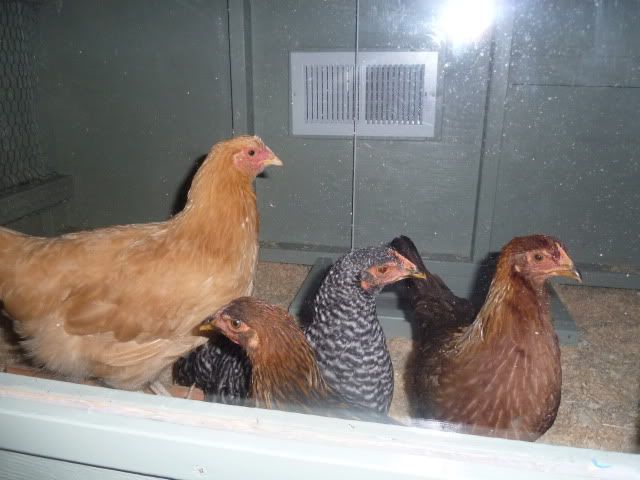
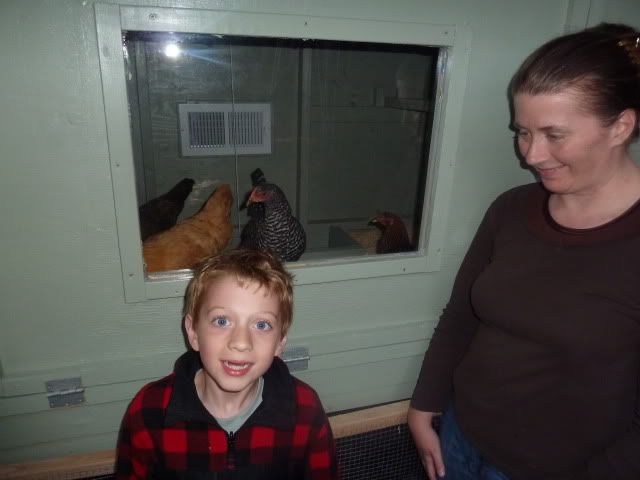
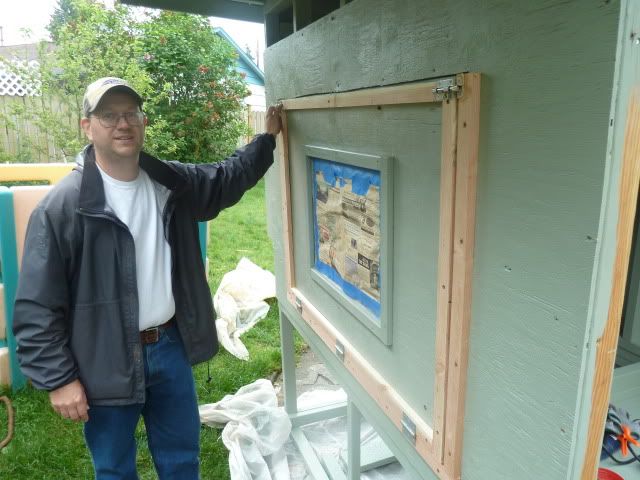
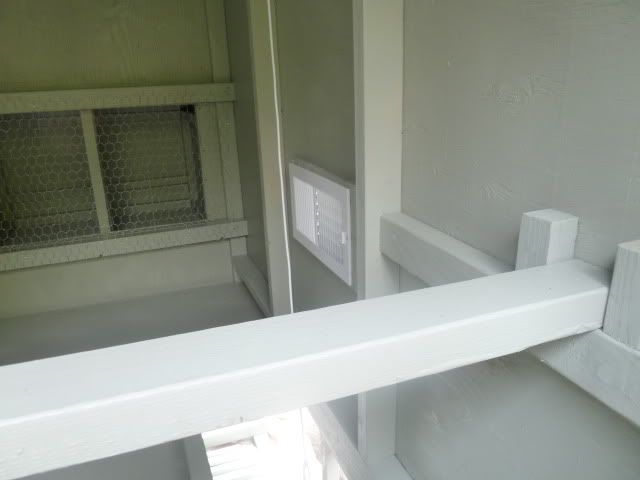
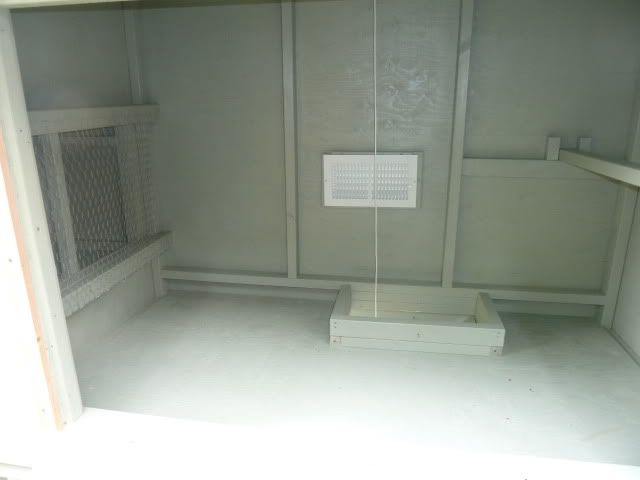
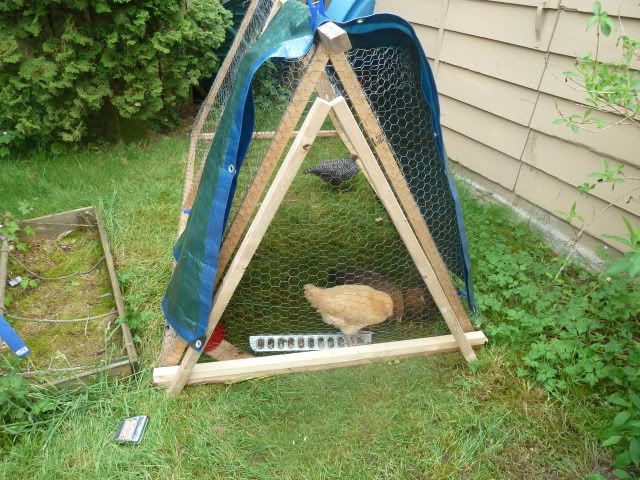
Now you see why I won't let my girls free range. Rather they get a new patch of 32 SF of grass every day to forage in. Not a perfect world, but a nice arranngement over all.
Enjoy your garden!
So, you can imagine our thrill to see berries ripening all over my berry bed.
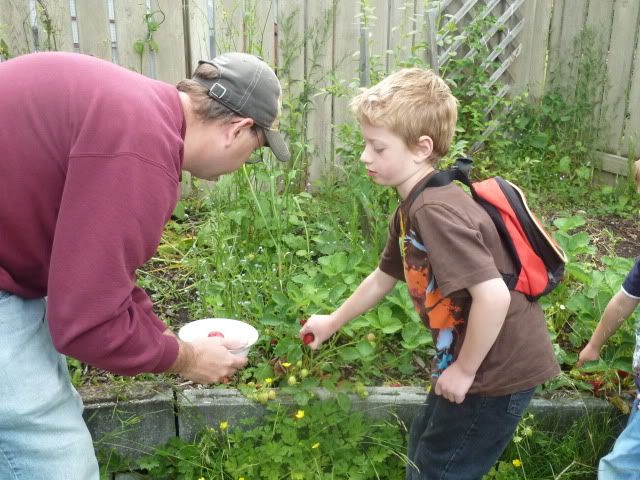
This year, the boys have been sternly warned not to pick any berries without mom or dad around. So on Logan's last day of school, as a treat we went picking. Anything that was fully ripe and in danger of being eaten by slugs or birds was harvested. We got a very good harvest and left several more fairly ripe berries in the garden.

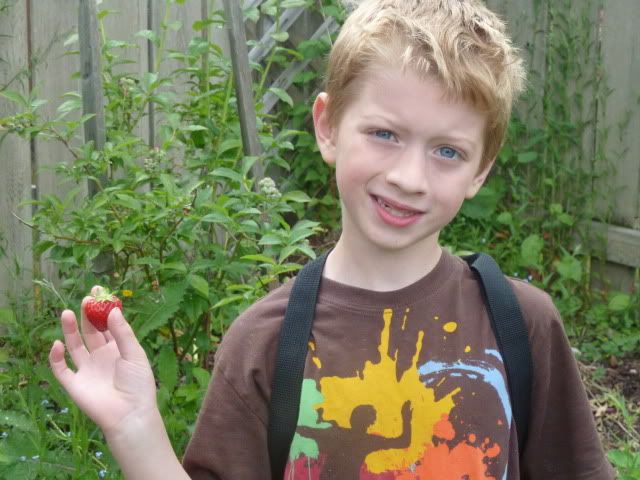
As you can tell the boys had a blast!

I think he looks happier than his brother, don't you?
Over the last few weeks or so, we've been working through a Costco flat of strawberries. In my experience, they've been tough and relatively flavorless. These babies on the other hand, melted like butter on a hot day when I was cutting the stems off. The girls didn't seem to have an opinion on which they liked better, Costco's or mine. They devour the tops in one gulp. We on the other hand, were in heaven eating those perfectly sweet and tart juicy red pouches of goodness. Makes my mouth water just writing about them. Tomorrow we'll have to harvest more! And to think we've got close to 100 berries left on the plants in various stages of growth! That, and the plants continue to send out runners that I train to go where I want. MUAHAHAHAHAHA! Soon will be blueberry season! Yum!
Now you see why I won't let my girls free range. Rather they get a new patch of 32 SF of grass every day to forage in. Not a perfect world, but a nice arranngement over all.
Enjoy your garden!