Showing posts with label design/build. Show all posts

Friday, August 26, 2011

August 26, 2011

Yeah, I know you haven't heard from me in a while.  I've been trying to fit a year into the last month of my summer before I go back to work, even if it's a temporary gig.  So, I've been spending my days playing with my kids and getting the last of the to-do chores done.  Fun over blogging.  I don't feel bad about it.

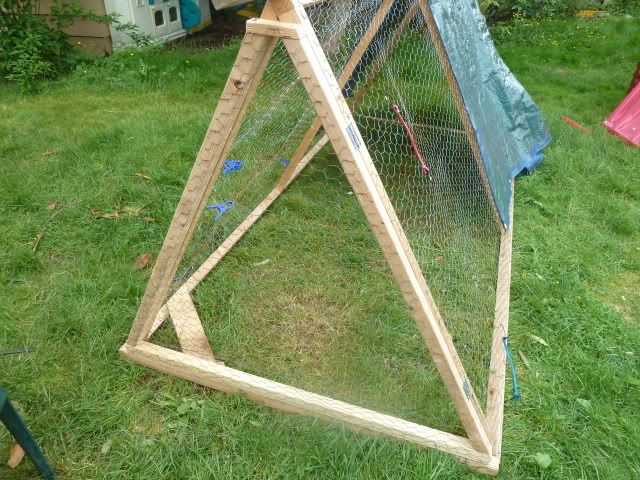
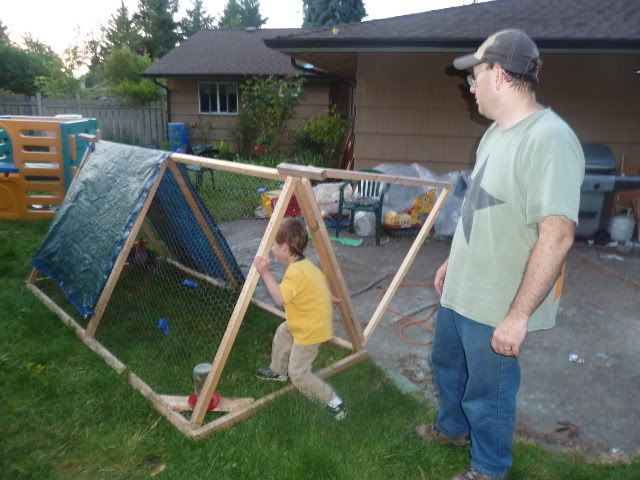
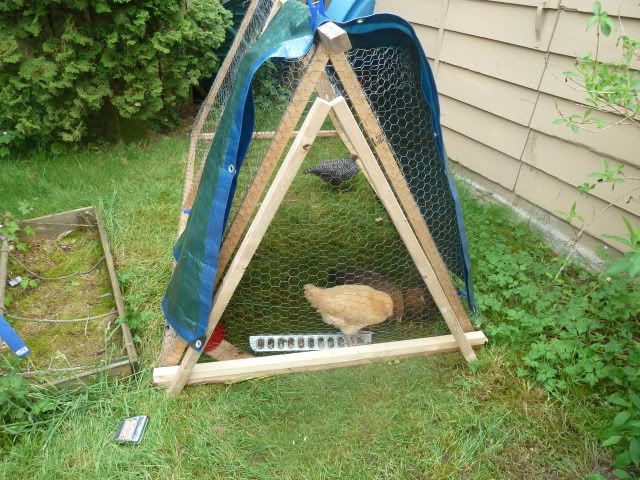
That said, one of the things on my to-do list was to get the chicken arc ready for layers.  So, last week, I finally got to it as my birds were getting to be 5 months old. 

I started by building a platform with left over plywood and 1x2 scrap from the coop project that I'd been saving for this very reason.  The placement was as high as it needed to be to reach the sides of the triangular arc.


Sure it doesn't look extremely sturdy, but really, how heavy duty does it need to be to be to support a few hens laying eggs?

After that, I decided to use recycled corrugated fiberglass panels from my broken compost cover for the sides.  Not only is it water proof, but it adds more light, which will be good during the winter months.  The door was a bit more tricky as I had no idea what angle my arc was set at, so we resorted to tracing it on the plywood and cutting it out.  I used a left over hinge that was way too big for the application, but I had it.


My brother wanted to use a hook latch for the closure, but I have found eye-hook latches to be pains in the rear over the last few months.  I like barrel bolt latches much better.  Thankfully I had one on hand, so I used it. 


So, as it sits now, it isn't pretty, but it's very functional and not particularly heavy.  Just what the doctor ordered, and if you read yesterday's post, I built it right in time.

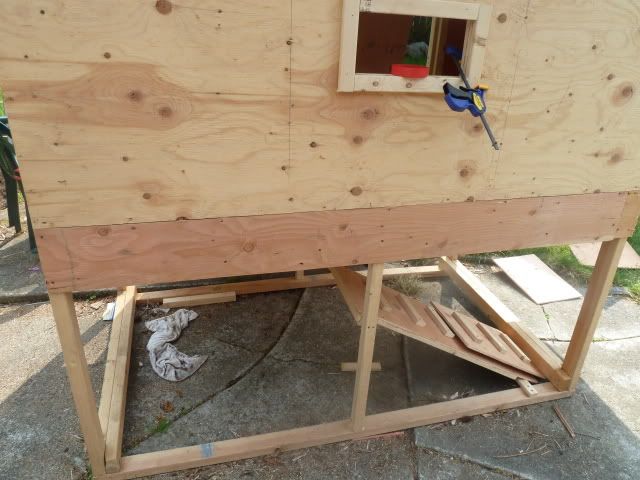
It's not finished yet.  I still need to build in a lip to keep nesting material in there, and maybe build some sort of a ramp to let the chickens up there.  I'm thinking of indoor outdoor carpet in the nesting box to help keep the eggs from rolling around when the arc is at an angle, which happens regularly, depending where it is in the yard. 

I also want to replace the rusty chicken wire with some galvanized welded wire, maybe in the inch or two variety, to cover it.  As winter approaches, it may be that the hens are out after dark some days, so I want to make it temporarily predator proof.  I've got my work cut out for me.

Enjoy!

Tuesday, August 2, 2011

August 2, 2011

Summer may be waning, but my chickens are getting closer and closer to laying.  They're developing waddles and combs at record paces, just in time to need them as temperatures SOAR into the upper 70s.  That's right, we've had exactly 78 MINUTES of temperatures in the 80s this year, meaning we're way behind our zone for warm temperatures.

This week I've been busy keeping tabs on both mine and my brother's chickens as they're on vacation.  His birds are a bit smaller than mine, but will do anything you ask for food.  Mine are holy terrors when it comes to food and devour it whenever they have any.  Like a fool I keep filling it. Hehe.  These girls are going to eat me out of house and home.  Nearly two 40 pound bags gone in 4 months.  Yikes.

Anyway, I finally fixed this problem with my coop...

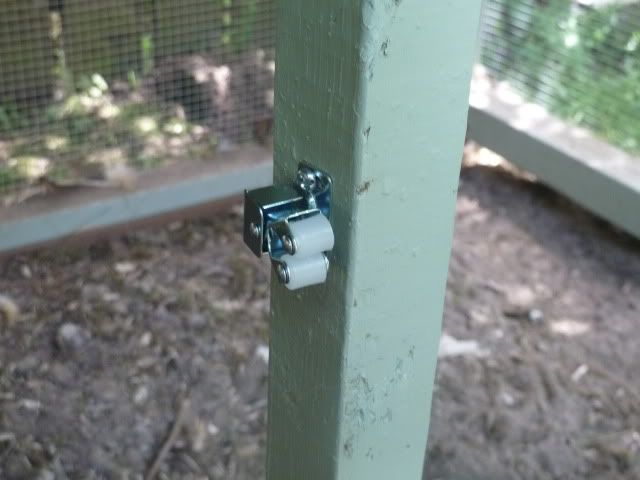
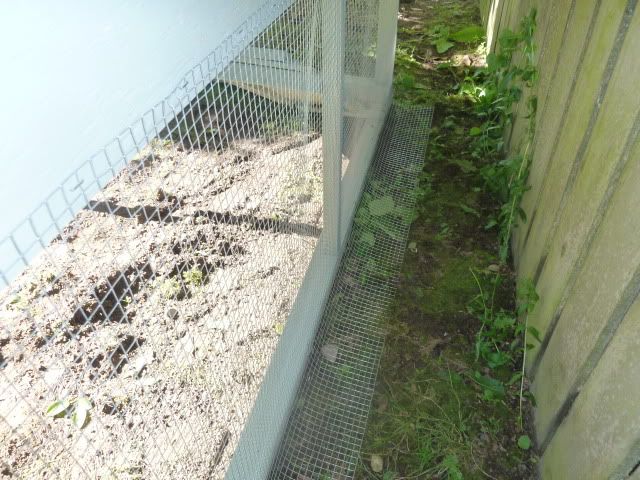
You see, I've taken to leaving the pop door down all night to allow the girls access to their mini-run in the morning before I go out to let them into their arc.  So, while I've got hardware cloth around the entire run, this gap at the bottom worries me for small critters that may be able to do the hens harm.  I've been trying to figure out a way to keep them closed. I thought one of those magnet cabinet closure pieces would work, but I didn't want to have it rust in the damp Pacific Northwest weather.  A trip to my local True Value led me to a different type closure that I'm quite happy with.

A bent arrow-shaped piece of medal fits in between those rollers.  I had a devil of a time placing these, as they need a fair amount of overlap to attach them.  Thankfully I convinced my eldest to crawl into the run and mark the best placement for the rollers and arrow piece.  They're not in the same place on the coop, but who cares where they are if they work.

Now it closes like a dream and I can feel safe keeping the pop (chicken) door down all night.

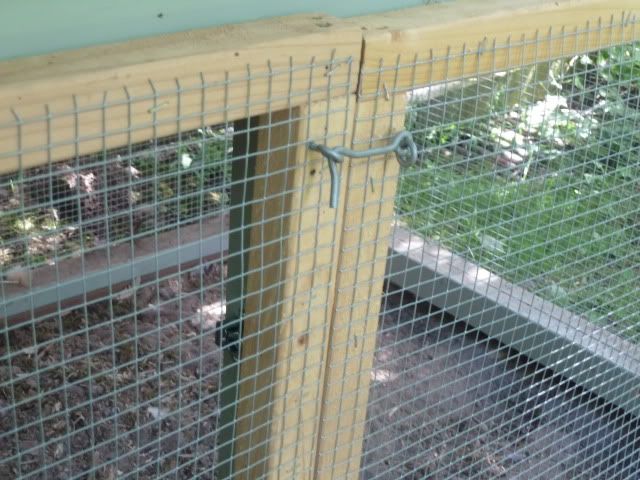
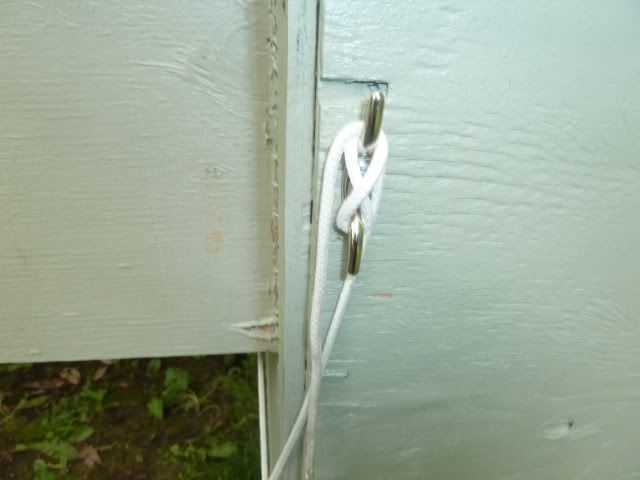
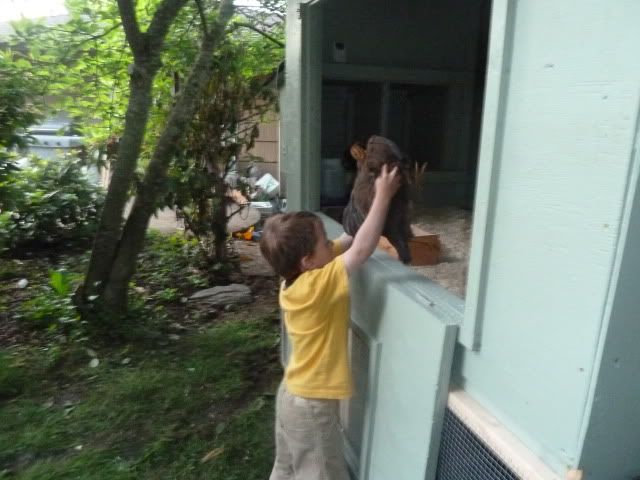
That project down, I also finally threw a hook lock on my arc.  A week ago I actually forgot to get the girls in for the evening, and shortly after dark there was a bocking and pecking at the sliding glass door. They'd got out and came to the only light source, our house.  It wasn't hard getting them in as they don't move in the dark, but I had to keep them from pushing the door of their arc open.  I didn't think they had it in them, but I was wrong.  So, now there's a hook to keep it closed.

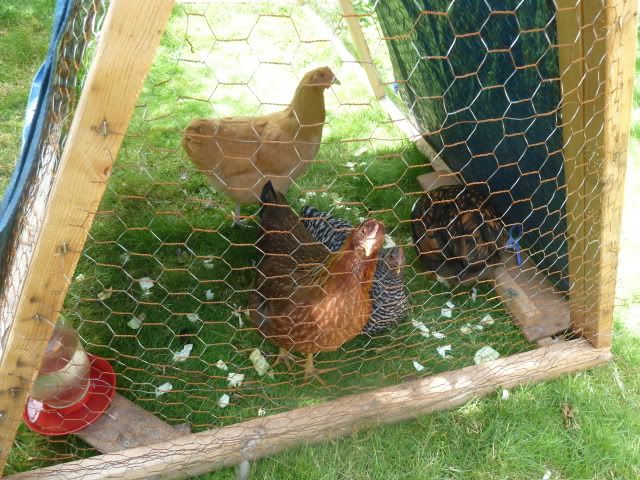
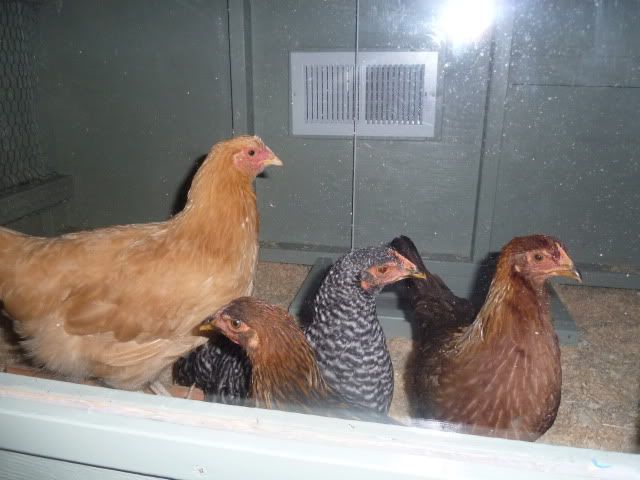
Lastly, I'll leave you with a pic of the girls to show how they've grown.  One month left before they start laying (hopefully).
Enjoy!

Friday, June 24, 2011

June 24, 2011

Well, the beginning of the week meant that Father's Day was over and the chicken coop progress could continue.   There were several last minute details to finish up before the hens could go into their new home.  The biggest of which was the hardware cloth needed to be installed on the mini-run.  Three of the four sides were easy, just cut the pieces and install them.  I used half-inch staples rather than my hammer-staples for ease. I sure hope it's secure enough. Thoughts?


If you notice I made sure to let the extra fan out onto the ground. In a perfect world I'd bury the cloth so it would be unnoticeable to all but the digging creature, but I'm ok with it for now.

The three sides went easy enough with my brother's tin snips (boy was cutting the chicken wire with wire cutters insanely slow).  However, construction was required for the front as it would be two gates to let the girls in and out daily.  Constructing them out of 2x2s was fairly easy, the only issue was the fact that during the fall the middle support moved a bit.  Rather than fixing the support beam back in place, I just made one door a quarter inch longer than the other. No big deal.


Taking my brother's advice, I installed the hardware cloth while the doors were on the ground.  It may have been easier to install the wire, but it made installing the hinges more of a pain.


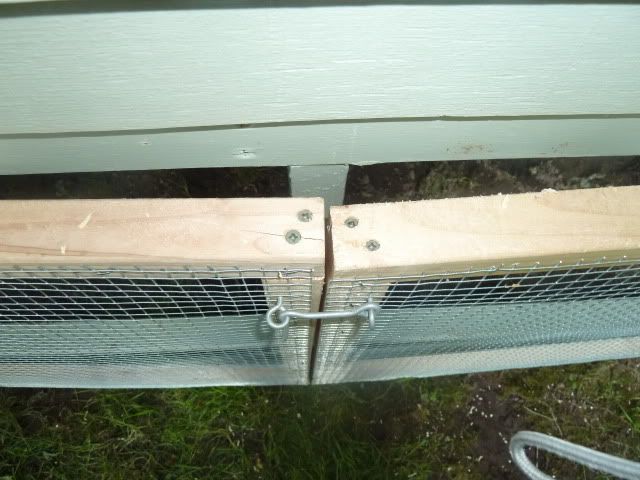
They went on pretty smoothly though I had a bit of a problem with them staying closed, even with the hook and eye attached.


It's possible that I need to increase the distance a hair on the hook. I haven't tried that, but my other thought is to go get some of those magnetic cabinet locks and install them on the doors.  Not sure if they have ones rated for out-door use.  For now this works, but I'm not happy with it.

That same day I took on a number of other projects, in order to get the girls into their coop.

The first was simply installing the cleat to lock the rope in place when the door is closed at night.


The next was not really a coop project per se, but rather one for the ark.  I wanted to get the door installed once and for all.  It took a while to get the sizes right and how to complete the triangle and where to put the hinges.  I actually used a set of hinges planned for the run doors because the T-hinges I had purchased before I ever started building the coop don't work very well on 2x2s.  They hang over the 2x2s on the run door but I put them on the door less opened and don't care.


If you can see, I ended up using a 1x2 on the top to combine them to make sure it cleared the handle.  It was a last minute fix, but works well.  The good news about this door is that I installed it using a paint scraper to set the clearance with the bottom board.  The effect is to have a door that rubs a bit.  The friction is just enough to keep the door closed if chickens push up against it, but not enough to keep me from opening it whenever I want, without an eye hook.  The only problem with it is that the door opens at a 60 degree angle or so, which will never stay open on it's own.


The solution for it right now is simply to keep one of my small bungee cords to keep it open. I'm not happy with it as a long-term solution as the effect is to bend the chicken wire which is rusting at an alarming rate.  On that note, I don't want to us 1/2 inch hardware wire on it.  Sure, I know the chickens don't care if it's rusted, but going in and out of it and moving it around, it's common to scrape yourself on it.  I know it's been a while since I've had a tetanus shot, but my kids have never had one, so it scares me.  Maybe I'll bite the bullet and go with 2 inch cattle wire on it.  Suggestions?

Other small projects I did to the never-ending ark project was to add a platform for the food. Mostly I wanted to be able to move the ark around without removing the food.  Since I didn't have anymore 1x4 material, I went with a scrap piece of 3/8" plywood. I attached it with scrap 2x2s in the opposite corner across from the water platform. It's a bit longer than the food tray, but I decided not to cut it.  I figure I can put a dish of grit or crushed egg shells later down the road.  As you can see, the ark is never done.  The goal is to improve it, not add weight.

As for further improvements, my brother added a roost to his ark, so I threw one in. I'm not thrilled with how badly it blocks off the back half of the ark, so it may not stay.


The girls aren't using the roost yet, but who knows. 

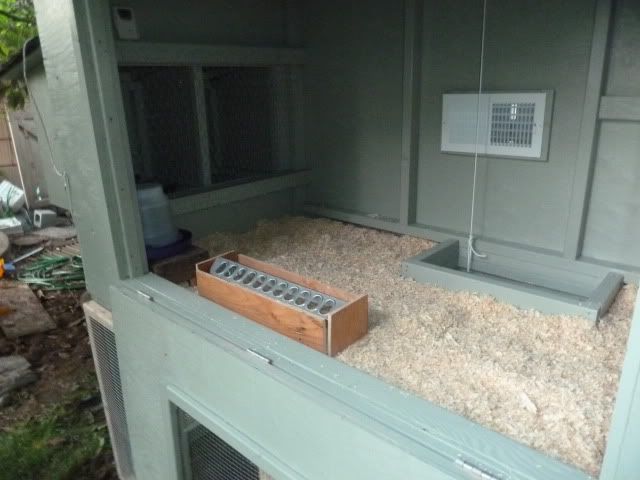
The last project of the evening was a feeder for the coop.  I had already painted a pressure-treated 2x6 but built up the walls with scrap plywood.  It'll work for now as it was getting very late and I wanted to get the chickens in that evening.  After that was done, it was simply a case of nearly emptying a bale of shavings into the coop.


The set-up was finally ready for the girls.  I plan on putting more bedding in the coop, but not until I raise the level of the boards around the chicken door.  Still figuring out the best way to do that.  Some day I plan on doing the deep litter method where you don't change the bedding but once a year, letting it compost in place.  This will have to do for now.

Finally, it was time time to introduce the chickens to their coop.  It was far too late in the evening to put them in the run and let them figure out the ramp, so we simply put them into the coop via the clean-out door.


The only problem with this plan is that the chickens quickly learned they could jump out of the coop the same way they got in. That led to some late night chicken chasing.  In the end I placed them into the coop, unceremoniously by cracking the door and dropping them in.  Not the best idea I'd had.  Oh well, they got in for the night.


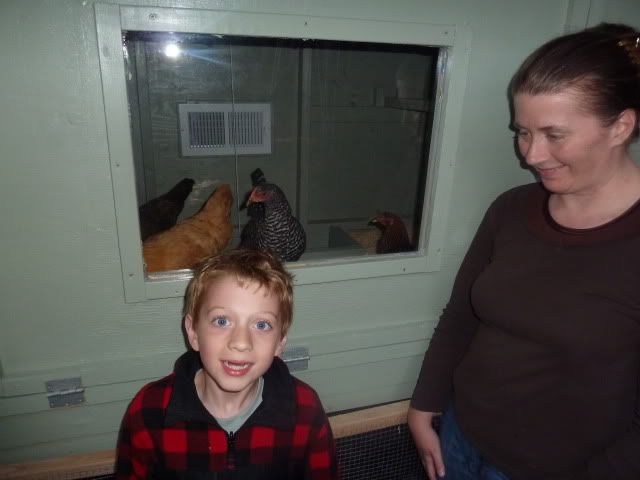
And there they stayed all night long.  Doesn't everyone look happy with the chickens in their new home?


So there you have it. The chickens are now into their coop.  YAY!

Enjoy!

Monday, June 20, 2011

June 20, 2011

Belated Happy Father's Day to all those dad's out there. Makes me feel glad this post will contain picks of both my dad and one of my kids.  Couldn't ask for a happier coincidence.  Before I start though, I should say that the reason for my silence of late is because Father's Day was celebrated at my house, meaning all the junk my kids left around needed to be picked up and the house scrubbed from floor to ceiling.  Oh yeah, I also had to make up the best burgers in town, but that's another post all-together.

When we left the caped crusaders, the chicken coop was on it's side and all seemed hopeless.  But thanks to community, all is right in the world.  Of course family jumped into action, but with aging parents we needed more muscle.  My brother's best friend has done more for my family than I could ever do in return, but he drove from Monroe for this.  All my good friends were otherwise preoccupied Saturday morning, so I did what any desperate man would do. I begged.  Yep, I went door-to-door trading future eggs for muscle.  Not really, I simply went across the street to the family of my kids' buddy and asked for help.  He was home and told me to come on over when we were ready. 

I had no idea how hard this would be. I could barely wiggle it despite building it as light as possible. My brother could lift an end but who knows if he could move it with his bad knees.  Sorry I don't have any pictures from the righting or moving project. I didn't feel like I should beg help and then stand around and take pictures all morning.

Anyway, we had the two fathers, my brother, his friend, a neighbor and myself to do this.  As there was really only two places to lift (the top corner of the wall by the roof on both sides), my brother and his equally strong friend lifted the coop enough to place a block under the roof line so we could get our hands under it.  Then it was simply all hands on the roof.  My father was on the back to make sure it didn't tip over the other way. In the end, it took an hour to figure out the best way to do it and exactly one minute to right it.  It really was light after all, just awkward and top heavy.  That said, I never want that to happen again. 

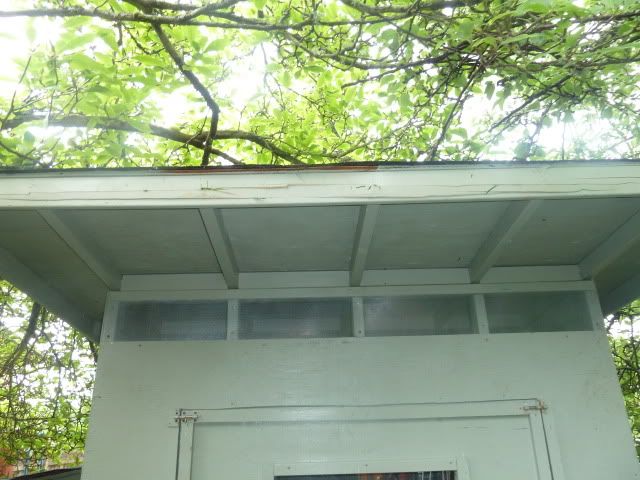
Stood up, you could see the damage the fall caused.  Thankfully it was only the fascia board that was mangled by hitting the ground and having the weight of the coop resting on it. I'm not sure if I'll fix it or not.


Once it was up, I let my neighbor go back to his Saturday morning routine, but my brother's friend (who helped install my furnace and new duct work throughout my house a few years ago) stayed to move the beast.  Again theories were thrown around, but in the end, the simplest plan worked best.  They simply threw the wheels on the front of the coop (the bottom of the side wall) facing out, not down.  Then 2x4s were attached to the floor joists on the other side, creating a large wheelbarrow.  Then my brother and his friend each took a handle and I and my father-in-law were in the front to help steer.  It took ten minutes to maneuver the coop into position, and despite very uneven ground, I never felt the coop was going to tip.  In the end the whole process was very easy with all that muscle around.  I am very grateful to the folks that helped. There are eggs in it for them when the girls start producing.  Whew, what a relief.

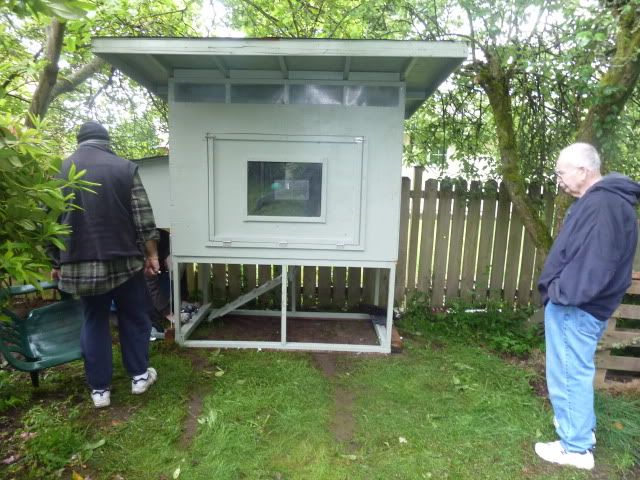
So, here is the coop in it's final resting place.  I positioned it 2 feet from the neighbor's fence so in case the chickens get back there I can chase them.  It'll also allow for the installation of the hardware cloth in the back, which still needs to be done.


You can see the ruts in the grass where the skids dug in during the move, but who cares, the coop's in place and the grass will grow back.  You can also see how the trees are perfectly trimmed around the coop.  They used to be hanging down so bad I had to duck under them constantly when working with the compost piles. We cut them down to allow for maneuvering the coop into place. I like it much better now that I can move around in there without ducking. 

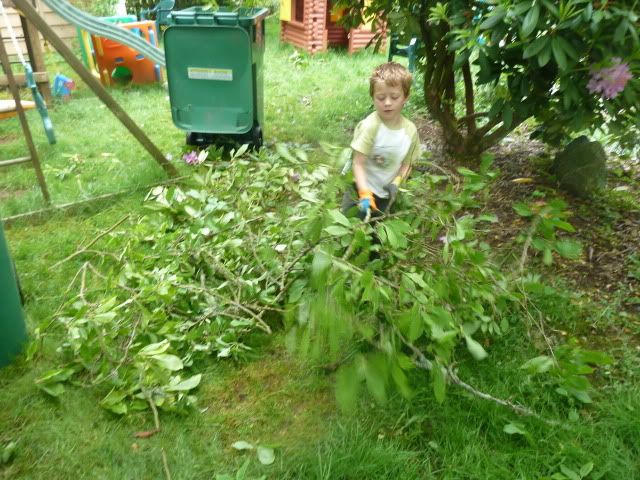
Speaking of trimming the trees, I forgot to post some pictures of my youngest helping me get the site ready for landing the coop last week.  He's off from school already so it's fun to do daddy and son things without my eldest.  He got that kind of treatment when he was younger, so it's only fair.  Here he is helping to fill the yard waste bin after cutting back the trees and bushes.  I don't compost branches like that because my chipper is on the fritz. Let Cedar Grove compost it. They're better equipped than I to handle those things.


And here he is having a blast jumping down in the 96 gallon bin smashing everything down so we could add more.


His helping made it such a pleasurable experience.  We had a blast!

I hope you enjoyed your weekend.  Time to stop writing and get the chicken coop finished!  But that my friends, is another post.

Friday, June 10, 2011

June 10, 2011

Sorry I haven't posted in a few days. It's been crazy around here gearing up for the little one's 5th birthday party.  Having it at a park was supposed to be easy.  Not so when the kid said he wanted a Harry Potter themed party.  My wife went into muggle mode and went ape over the whole affair.  Everything we/she's done has been extremely labor intensive and time's slipping away.  Nights go like this.  Get the kids involved at bed time, going to bed an hour or two late (poor kid who's still in school).  Then the real work begins. Around 2 AM I go to bed as someone has to get up with the school aged boy.  She works well into the morning then sleeps til 10 and we start the day over again.  Thank goodness the party's tomorrow so we don't kill each other.

That said, the coop HAS to get done, so one day this week was spent working on many of the final details to get it chicken ready.

The first order of business was to tackle the chicken door.  For the clean-out door, we'd cut 1/4 inch of each side to make SURE it fit in the opening.  For some reason we didn't do that on the chicken door.  Silly us.  We paid for it for an hour or two, sanding and sanding to try to get it to open under the force of gravity.  In the end I took a hand saw to it to chunk off far more than a sander could.  Then we attached the pulley system to raise and lower it.


Yeah, we took off a bit from the front with a skill saw without a plywood blade on it.  Touch up painting was in order.  However, it was the far left hand side that caused us all the grief.

The rope goes all over the place, but I wanted two things. 1) to keep the rope out of the chickens' way as much as possible, and two, to have it come out where I will be most often.


The pulley system comes out at the nesting box side since it's where I'll be every morning.


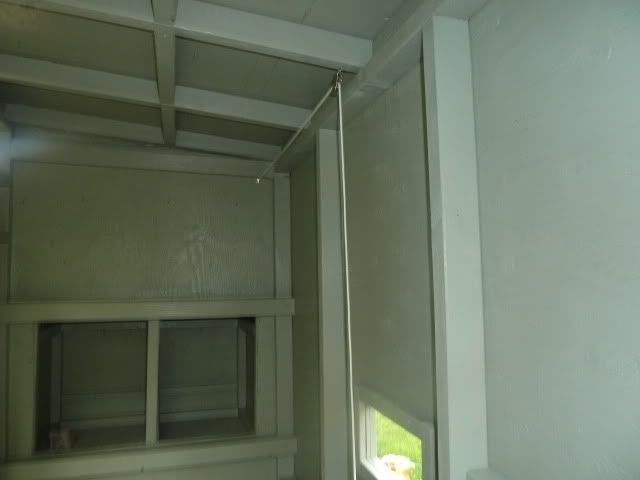
I think the only thing I'd do differently on the pulley system would be sturdier eye hooks.  I've bent one and my son another.  I've got one left in case of another accident.  Anyway, doesn't the finished ramp look great? Here it is from the chicken's perspective.


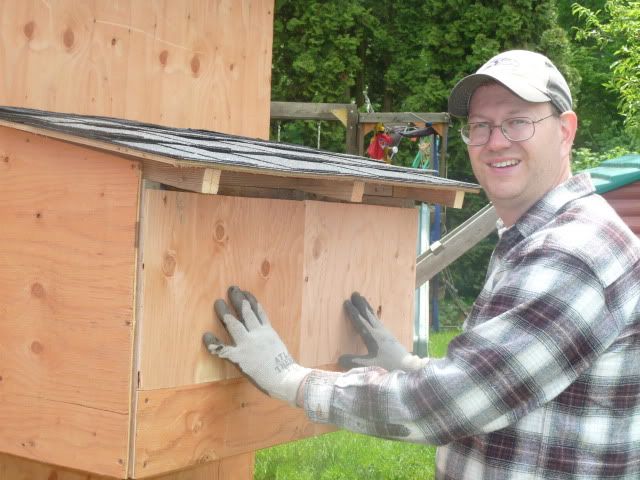
Next up was to seal off the nesting boxes.  I'm not sure where we got the idea to do this, but it's a very good idea since my brother's chicks have taken to sleeping in his, which is not the intended purpose.  We'll remove the chicken wire when they start laying eggs in a few months.


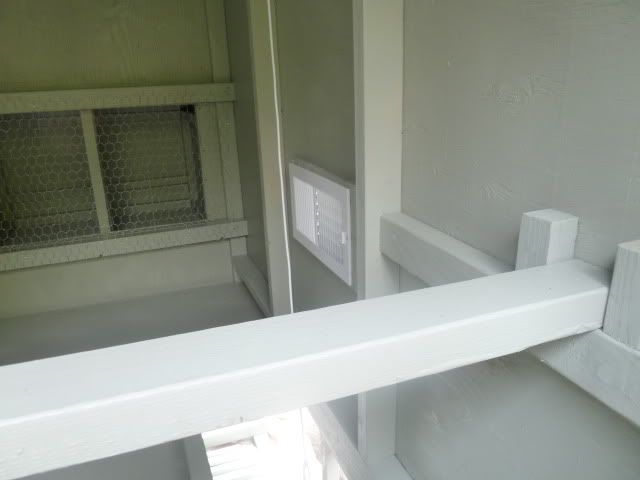
Now for the last project inside the coop where I would need to crawl around in it.  Here's a hint, it's pictured in the pic above and is missing something.


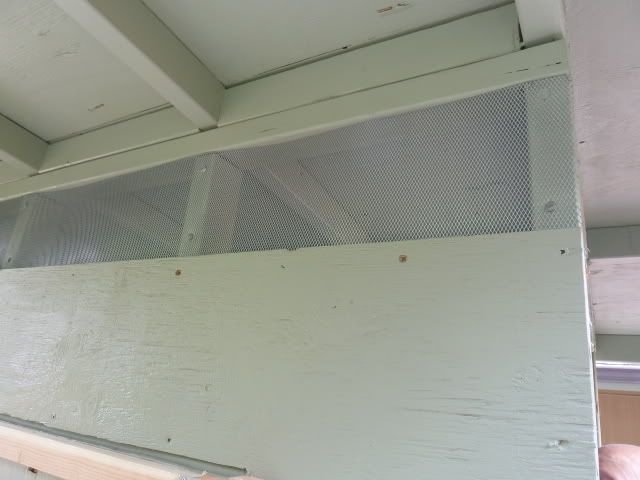
I'm quite pleased at how the vent turned out.  In the end we just needed WD-40 on the mechanism to make it open and close smoothly.  And the border on the outside not only allowed for something for the screws to go into, but it gave us something to attach the insect wire to.  Nothing's getting in through that vent.  Oh, and that same mesh fit perfectly into the 6 foot vent on the front.


Oh, I totally forgot that we hung the doors for the chickens to use and those of the nesting boxes.  Glad my brother was there to help as I understand it's hard work.  My brother made it look easy. Thanks bro!


Touching up the painting was a pain in the rear as I refused to tape off the hinges etc.  I stayed a hair away from them in most cases, so I hope it weathers well.

Anyway, up until now, the day was mostly tackling smaller projects.  I'd say the biggest one was the clean-out door, which was next.  We had to frame the door on both the door and around it to make sure it had a place to seat and to attach the barrel bolts to lock it.

 
You'll see that we didn't place a frame 1x2 at the top.  It wasn't needed and it's just a chicken coop.  Anyway, welcome to my chicken coop...


At least it opens!  Finally, we could install the siding on the right hand side.  I can no longer access it from there, but there's nothing else to do in there that I can't do from the clean-out door.


Even the roost is in, which can easily be removed to scrape as necessary.


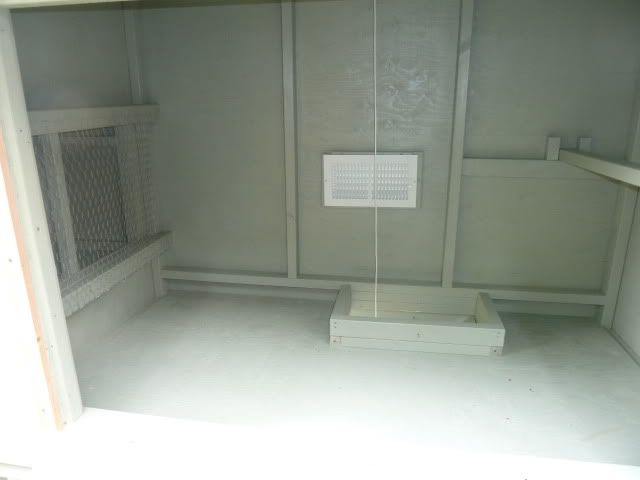
And here is what my coop looks like on the inside.


I've come to realize two things.  One, painting the inside protects it sure, but it also makes it very dark in there.  Oh well. As my brother says, they'll mostly be just sleeping in there.  The second thing is that the wall I built up around the door is insufficient at about 4 inches.  I need it 4 inches above the level of the bedding, which will be four to six inches high.  And I thought I wouldn't need to break out the paint again.  Boy is it going to look silly with a 2x3 on top of a 2x2, capped with what? a 2x4?  Silly, silly, silly.

Lastly, I took a moment to cut some pieces for the door to the ark. It'll be a simple 2x2 triangle on hinges to swing out of the way.  Not the perfect solution, but it is the best I can come up with.


I can never manage to measure right when it comes to boards with angles cut at the ends, so I basically guessed.  Sure hope it comes together.  I had to stop to head out with the boys, but some day I'll finish it, maybe when the girls are NOT in there at the time.  Hehe.

Enjoy!
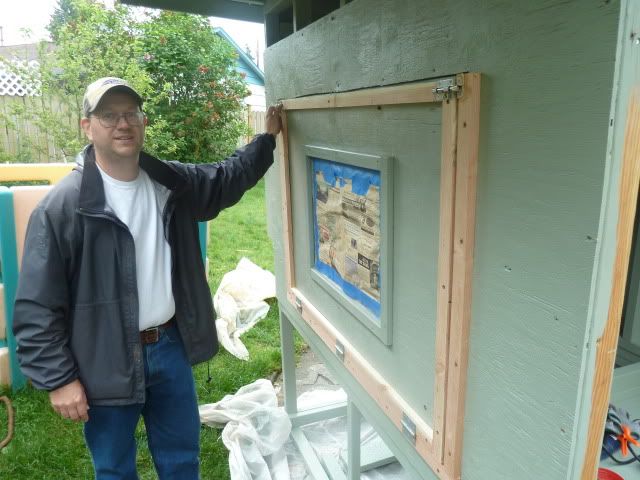
Hey folks, I just came to my attention that my next post will be my 500th. In a perfect world, I would make a post asking for suggestions on what the theme should be, but instead I'll post it here. Please give me your thoughts below. Thanks!

Sunday, June 5, 2011

June 4, 2011

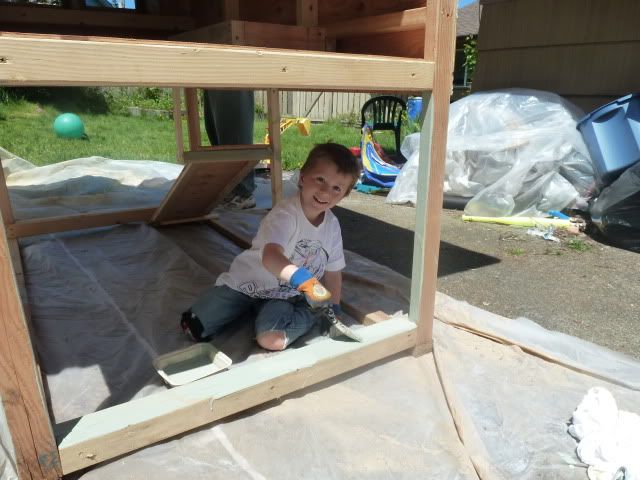
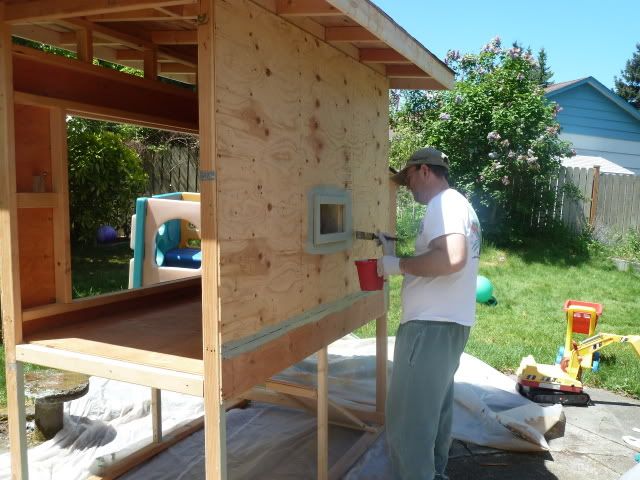
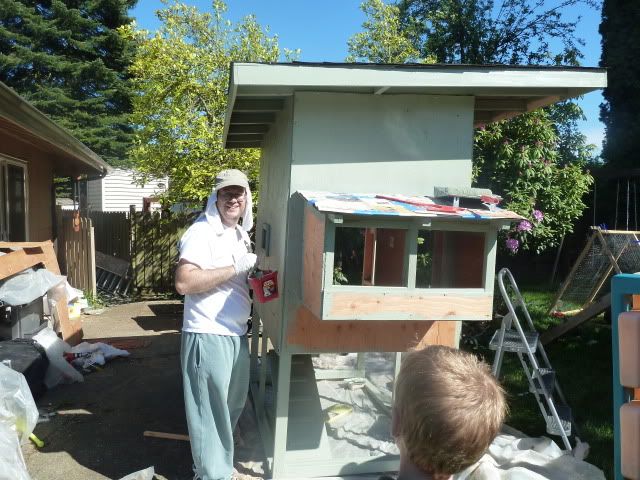
Well, based on KitsapFG's comment, I should start this post by saying, it's not quite DONE!  However, I did do as she said, I used the beautiful weather to my advantage and worked from nearly dawn to dusk on painting my coop Friday.  Saturday of course was all-day base ball games for the kids, followed by the celebration of my youngest's 5th birthday.  Friday however, he was my little child labor buddy.

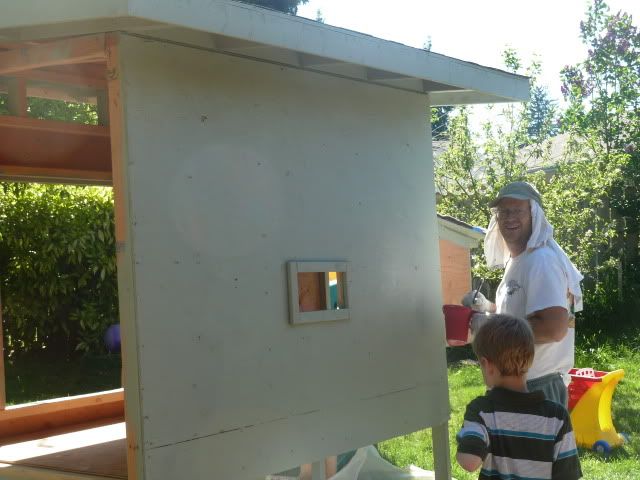
That's right, he begged and begged to help me paint, so I obliged.  And where better for a little shortie to paint but the mini-run below the coop.  Like I wanted to crawl around on the ground painting?


Though, I digress.  First things first.  What's the first rule of painting? It takes 2 hours to paint and 3 hours to prep.  Well, it didn't work out quite like that, but I did have a bit of prep work.  Less because I purposely painted before I installed the hardware.  Smart huh?


Those are from left to right, the two doors to the nesting boxes, my clean out door on top of the final side wall siding, the chicken door and my roost. 

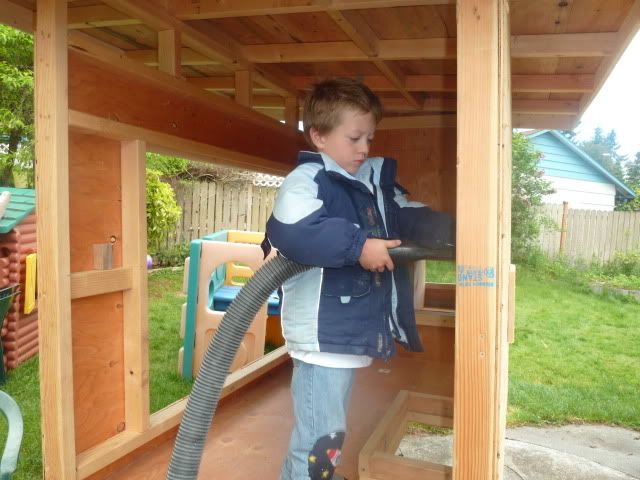
I also had to vacuum the coop, but there the little boy wanted to help, so he vacuumed while I tapped.


As you can see, the day started out a bit cloudy, as the forecast was for possible morning showers.  I had a tarp ready for the doors if that happened, but alas, the forecasters were wrong for the 365th time in the last year, and it just turned sunny and hot.  So hot that I threw a T-shirt over my neck to keep from worsening my sunburn. Then we started painting (finally as my son said, hehe).


I didn't really have a plan, but rather just saw something and painted it, starting with the trim, which may get a second coat of a different color.


After a while, I couldn't keep straight what needed to be cut in vs. rolled (of course I was rolling this, I almost broke out the paint sprayer, hehe), so I did a little bit of both, where ever it was needed.


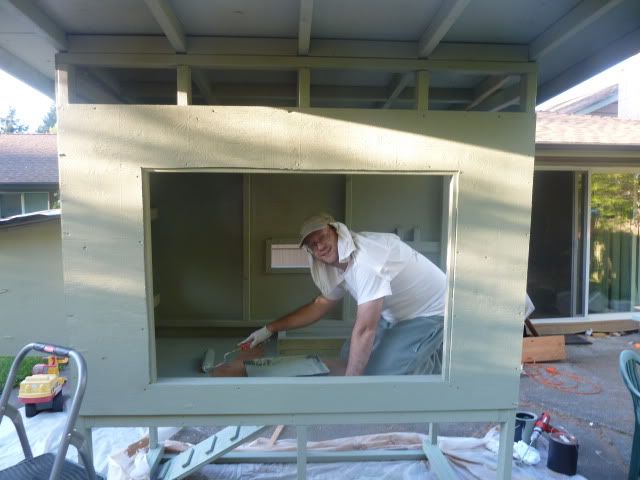
Don't I look attractive in my paint clothes and Sahara head dress?  My youngest should have had a similar set-up, not for sun protection, but a painters hat would have been nice.  That paint DOES NOT come out of hair.  Oops.  Anyway, as you can see, my youngest paints faster than I do, he's almost done and I'm not even done with the outside.


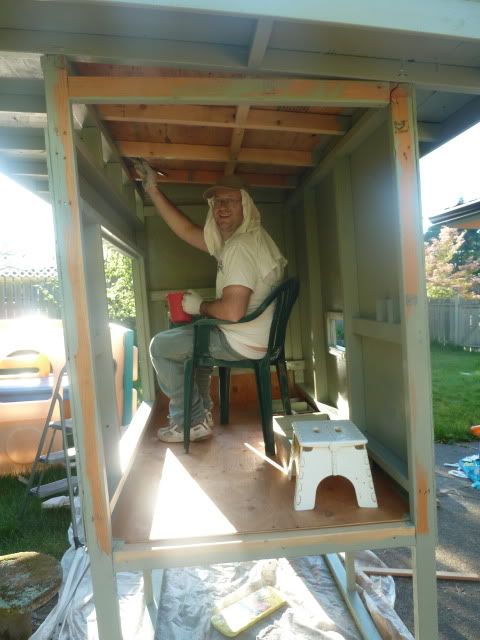
Hmm, I wasn't sure what time it was since I didn't stop to look ever, but since my eldest was in that picture, I hadn't started the inside until after 4:15 when he gets home from school.  He wanted to help but it just wasn't good timing with swim lessons at 5.  Unlike every other time, I didn't go. I had a coop to paint and the weather was perfect for it.  Our first 70 degree day of the year, or something like that.  I just had to get to that inside.  I decided to just paint everything since I had the paint and it would protect it from rotting (I used all untreated pine to build this, which would rot in our wet winters.  Oh, and what do you think of the color? It's the trim color for our house. We painted last fall and I bought way too much trim paint and since you can't return it, I used it here.  Whatever works!


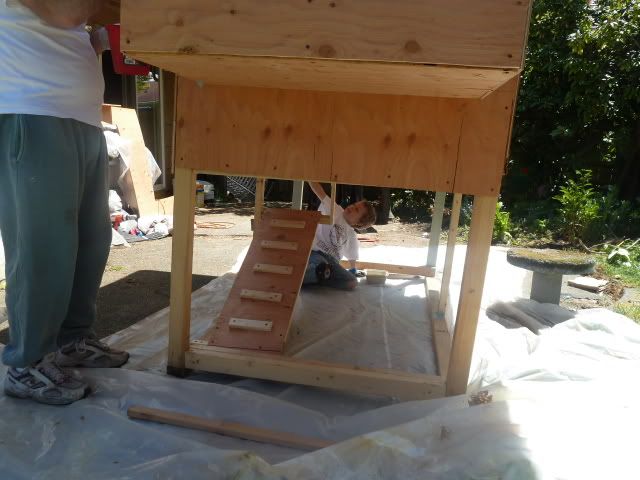
Hehe, as you can see, I was a bit exhausted by then, so I not only crawled on the coop floor that we didn't think would hold me, but I crawled on it, sat on a stool on it, and even a CHAIR!  Yep, I was tired and it made it easy to reach the ceiling. I just stayed on the floor joists whenever possible. 

All I can say is man, the inside was much harder to paint than the outside.  All that cutting in around the 2x3s, whew!  Finally though, I got to the very end, painting the floor on my way out...


Hehe, you can see by the shadows, that it's late, but let's just say it's well after the kids bed time.  And I still had to paint the doors.  Let's just say I painted the reverse side of the siding while the one side was still wet, then brought the chickens in while there was just enough light to see.  Then I cleaned up, took a bath to ease sore muscles and collapsed into bed, all to wake up bright and early this morning for a 9 AM baseball game.

Tomorrow will be much better though, I get to get up at the crack of dawn to join my brother down in Puyallup (about an hour drive) for the Mother Earth News Festival! He went today and had a blast, he met Joel Salatin and got to talk with the Editor in Chief of Mother Earth News.  He got him to consider making urban homesteading a bigger part of the magazine. Way to go bro!

Anyway, that's about it for me for this post. I'm tired, it's midnight and I have to be up in a few hours. Hope you enjoyed this installment of "How the Coop Turns"...

Thursday, June 2, 2011

June 2, 2011

I know I said it in the last post, but the weather's been less than cooperative this Spring.  Not only has my garden suffered, but my chickens have too.  Crappy weather is no fun for building a chicken coop.  Specifically, I need to paint it to seal the wood from future weather issues, if only I could get around the current ones!

However, I have been doing a few minor things to get ready for painting, then the final push to completion.  For instance, I used up the last of the caulking tube of door and window sealant to seal up cracks and holes, mostly in the floor where the wall plywood came to the very edge of the floor plywood, but not an eight of an inch farther.


You can't see it but the gap's there under the window, so that entire wall got a bead of caulk, especially the left hand corner where there was a hole.  I also caulked a huge hole in the top where the siding didn't cover the entire wall. I kind of felt silly sealing it since it's right next to the 3 SF whole in my coop for ventilation, but I wanted to be thorough. Silly me.  I also caulked as much of the nesting boxes as I could, since I don't want those drafty when the girls are laying their eggs.

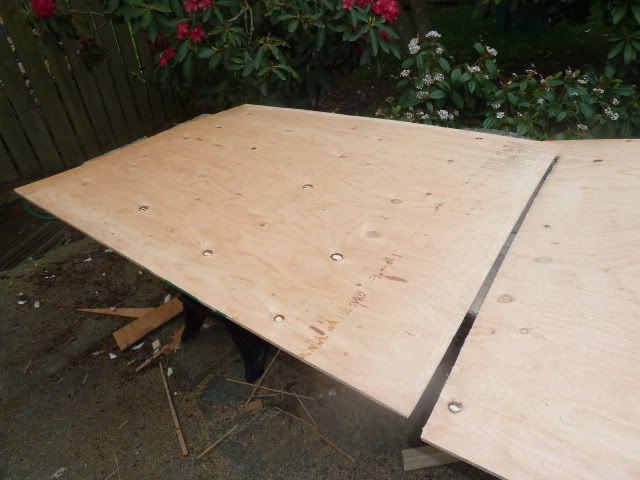
The rest of my work since my huge coop progress post has revolved around cutting plywood.  You can see that there's a wall missing in my coop to allow greater access to the interior, but I cut it anyway.

Alas, for some reason it didn't turn out as perfect as I'd expected, despite precise measurements, so I had to notch the middle a bunch to fit around the rafter holding up the roof.  It'll look bad, and likely need more caulking, but it's the back side where no one will see and it's only a chicken coop.  Heck, the plywood I used is the warped piece I took off the roof.  Who cares.

While I had the plywood out, I also cut the doors for the nesting boxes.  Those also didn't go in as they need hinges I don't have yet.


The only plywood I actually installed was at the bottom of the back wall. Having it be 4 inches short helped greatly when it came to installing the floor and the chicken door.  However, those parts were done so I slapped up some scrap plywood to seal it off.


Whereas the wall on the front side comes precisely to the bottom of the floor, this plywood goes a few inches beyond the floor.  I didn't feel like ripping a board a few inches off over a 6 foot length. It's the back where I won't be accessing much if at all.  Again, the chickens won't care.  Function over form.  Oh, and you can't see it very well in this picture, but the bottom piece was a few inches short of 6 feet, so I grabbed another scrap (actually the piece I cut out of the vent shown in the picture above) and threw in a piece to finish it off.  Here's a close-up to show just how bad it looks.


Yeah, it looks horrible, but once it's painted, it should look fine. And only the joining seem is prone to gaps because the other three sides have 2x3s to seal it.  I plan on throwing some extra paint in the crack to help seal it.  Of course I have looked and can see no light.  I used the factory edge on both pieces to join them. Best I could do.

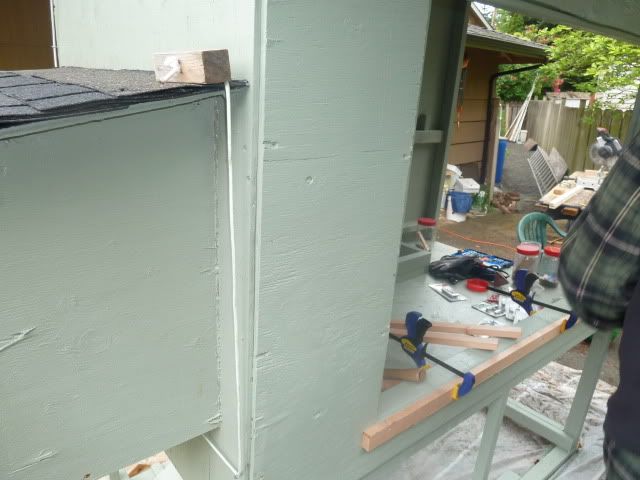
So, aside from painting, I have to install some drip edge on the back side to protect the fascia board, install Trex on the bottom boards to protect the boards from rotting, install hinges and hang doors (heaven help me Pam) and install the wire after building the front doors to the run. 

Not bad if you think about it. Very doable with decent weather. I expect to paint tomorrow if the weather forecast rings true for a change, then wrap it all up early next week.

Please comment if you have anything to ask or say!
Enjoy!