Sorry I haven't posted in a few days. It's been crazy around here gearing up for the little one's 5th birthday party. Having it at a park was supposed to be easy. Not so when the kid said he wanted a Harry Potter themed party. My wife went into muggle mode and went ape over the whole affair. Everything we/she's done has been extremely labor intensive and time's slipping away. Nights go like this. Get the kids involved at bed time, going to bed an hour or two late (poor kid who's still in school). Then the real work begins. Around 2 AM I go to bed as someone has to get up with the school aged boy. She works well into the morning then sleeps til 10 and we start the day over again. Thank goodness the party's tomorrow so we don't kill each other.
That said, the coop HAS to get done, so one day this week was spent working on many of the final details to get it chicken ready.
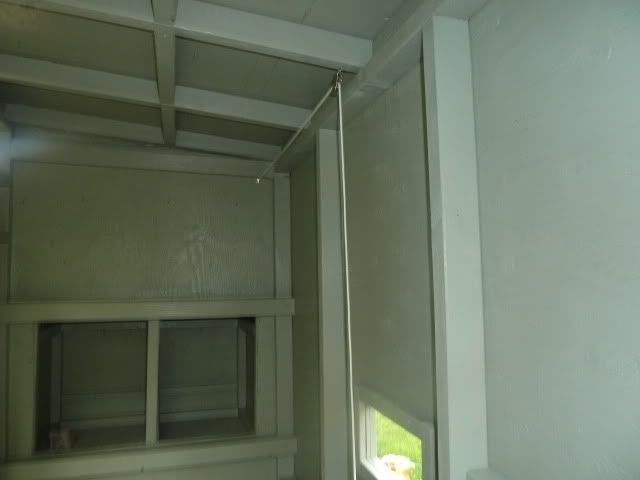
The first order of business was to tackle the chicken door. For the clean-out door, we'd cut 1/4 inch of each side to make SURE it fit in the opening. For some reason we didn't do that on the chicken door. Silly us. We paid for it for an hour or two, sanding and sanding to try to get it to open under the force of gravity. In the end I took a hand saw to it to chunk off far more than a sander could. Then we attached the pulley system to raise and lower it.
Yeah, we took off a bit from the front with a skill saw without a plywood blade on it. Touch up painting was in order. However, it was the far left hand side that caused us all the grief.
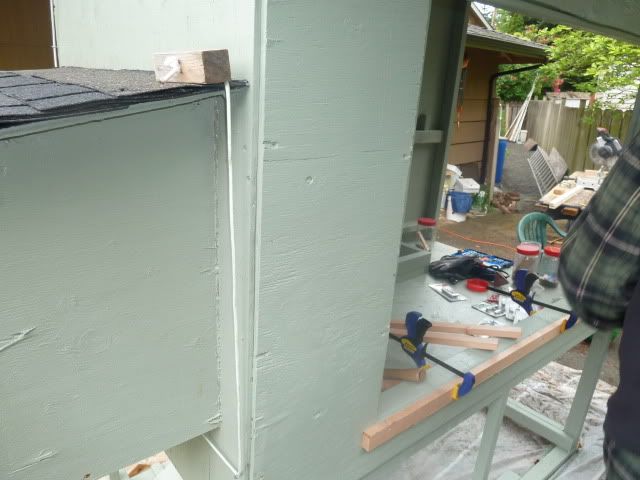
The rope goes all over the place, but I wanted two things. 1) to keep the rope out of the chickens' way as much as possible, and two, to have it come out where I will be most often.
The pulley system comes out at the nesting box side since it's where I'll be every morning.
I think the only thing I'd do differently on the pulley system would be sturdier eye hooks. I've bent one and my son another. I've got one left in case of another accident. Anyway, doesn't the finished ramp look great? Here it is from the chicken's perspective.
Next up was to seal off the nesting boxes. I'm not sure where we got the idea to do this, but it's a very good idea since my brother's chicks have taken to sleeping in his, which is not the intended purpose. We'll remove the chicken wire when they start laying eggs in a few months.
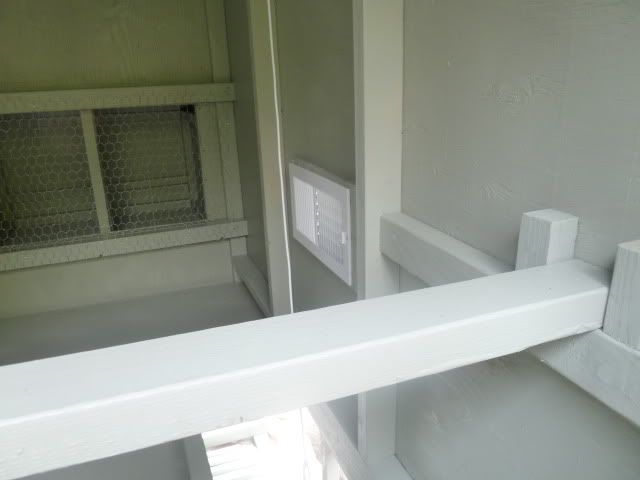
Now for the last project inside the coop where I would need to crawl around in it. Here's a hint, it's pictured in the pic above and is missing something.
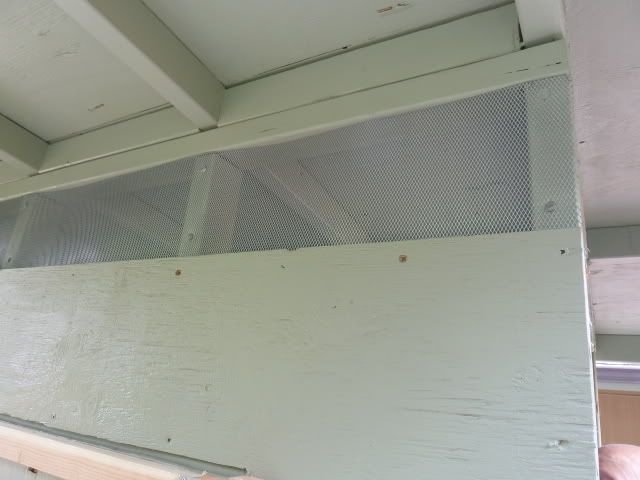
I'm quite pleased at how the vent turned out. In the end we just needed WD-40 on the mechanism to make it open and close smoothly. And the border on the outside not only allowed for something for the screws to go into, but it gave us something to attach the insect wire to. Nothing's getting in through that vent. Oh, and that same mesh fit perfectly into the 6 foot vent on the front.
Oh, I totally forgot that we hung the doors for the chickens to use and those of the nesting boxes. Glad my brother was there to help as I understand it's hard work. My brother made it look easy. Thanks bro!
Hey folks, I just came to my attention that my next post will be my 500th. In a perfect world, I would make a post asking for suggestions on what the theme should be, but instead I'll post it here. Please give me your thoughts below. Thanks!
That said, the coop HAS to get done, so one day this week was spent working on many of the final details to get it chicken ready.
The first order of business was to tackle the chicken door. For the clean-out door, we'd cut 1/4 inch of each side to make SURE it fit in the opening. For some reason we didn't do that on the chicken door. Silly us. We paid for it for an hour or two, sanding and sanding to try to get it to open under the force of gravity. In the end I took a hand saw to it to chunk off far more than a sander could. Then we attached the pulley system to raise and lower it.
Yeah, we took off a bit from the front with a skill saw without a plywood blade on it. Touch up painting was in order. However, it was the far left hand side that caused us all the grief.
The rope goes all over the place, but I wanted two things. 1) to keep the rope out of the chickens' way as much as possible, and two, to have it come out where I will be most often.
The pulley system comes out at the nesting box side since it's where I'll be every morning.
I think the only thing I'd do differently on the pulley system would be sturdier eye hooks. I've bent one and my son another. I've got one left in case of another accident. Anyway, doesn't the finished ramp look great? Here it is from the chicken's perspective.
Next up was to seal off the nesting boxes. I'm not sure where we got the idea to do this, but it's a very good idea since my brother's chicks have taken to sleeping in his, which is not the intended purpose. We'll remove the chicken wire when they start laying eggs in a few months.
Now for the last project inside the coop where I would need to crawl around in it. Here's a hint, it's pictured in the pic above and is missing something.
I'm quite pleased at how the vent turned out. In the end we just needed WD-40 on the mechanism to make it open and close smoothly. And the border on the outside not only allowed for something for the screws to go into, but it gave us something to attach the insect wire to. Nothing's getting in through that vent. Oh, and that same mesh fit perfectly into the 6 foot vent on the front.
Oh, I totally forgot that we hung the doors for the chickens to use and those of the nesting boxes. Glad my brother was there to help as I understand it's hard work. My brother made it look easy. Thanks bro!
Touching up the painting was a pain in the rear as I refused to tape off the hinges etc. I stayed a hair away from them in most cases, so I hope it weathers well.
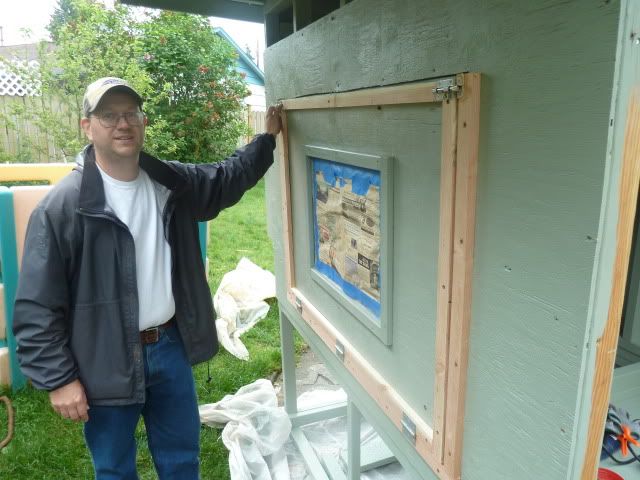
Anyway, up until now, the day was mostly tackling smaller projects. I'd say the biggest one was the clean-out door, which was next. We had to frame the door on both the door and around it to make sure it had a place to seat and to attach the barrel bolts to lock it.
You'll see that we didn't place a frame 1x2 at the top. It wasn't needed and it's just a chicken coop. Anyway, welcome to my chicken coop...
At least it opens! Finally, we could install the siding on the right hand side. I can no longer access it from there, but there's nothing else to do in there that I can't do from the clean-out door.
Even the roost is in, which can easily be removed to scrape as necessary.
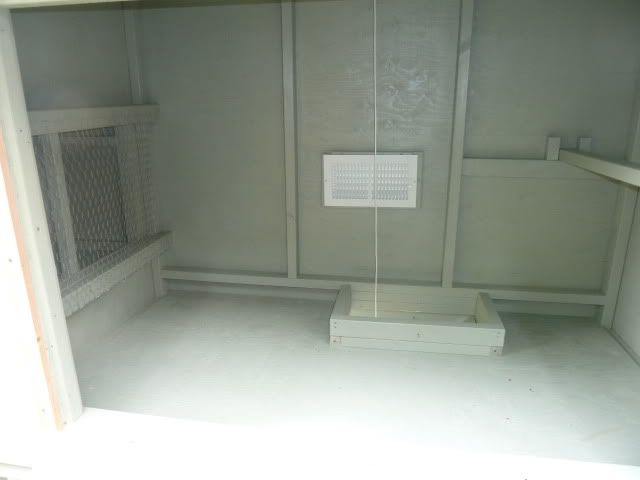
And here is what my coop looks like on the inside.
I've come to realize two things. One, painting the inside protects it sure, but it also makes it very dark in there. Oh well. As my brother says, they'll mostly be just sleeping in there. The second thing is that the wall I built up around the door is insufficient at about 4 inches. I need it 4 inches above the level of the bedding, which will be four to six inches high. And I thought I wouldn't need to break out the paint again. Boy is it going to look silly with a 2x3 on top of a 2x2, capped with what? a 2x4? Silly, silly, silly.
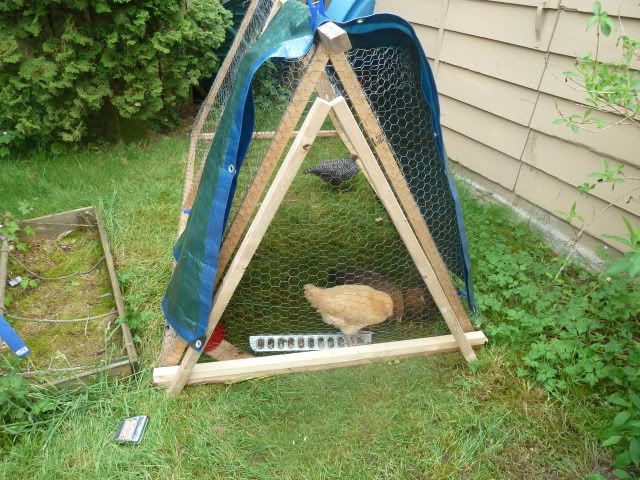
Lastly, I took a moment to cut some pieces for the door to the ark. It'll be a simple 2x2 triangle on hinges to swing out of the way. Not the perfect solution, but it is the best I can come up with.
I can never manage to measure right when it comes to boards with angles cut at the ends, so I basically guessed. Sure hope it comes together. I had to stop to head out with the boys, but some day I'll finish it, maybe when the girls are NOT in there at the time. Hehe.
Enjoy!






The coop looks great and look how big the girls have gotten! Fatastic!! The boy has been reading the HP books with the man and they're both loving them. Good luck with the party!
ReplyDeleteRibbit
The coop looks great! Nice work!
ReplyDeleteLooks great and I am looking forward to your post on move in day for your girls!
ReplyDeleteWow, your coop looks great!! It's so great to see the evolution of your project. You've got some lucky hens there!
ReplyDeleteHey folks, I just came to my attention that my next post will be my 500th. In a perfect world, I would make a post asking for suggestions on what the theme should be, but instead I'll post it here and edit my post above. Please give me your thoughts below. Thanks!
ReplyDeleteYou have been busy. The coop looks great.
ReplyDelete