So trial and error were my muses, and my guides through the process were Judy and others on the boards (both Ft2Garden.com and GardenWeb). Think of this is the place where you can cut through a bunch of blah de blah in my blahg and see the process from seed to table...
The first thing I did when I got my seed order was to go to the back of the book and write the planting information on the individual packs of seeds.
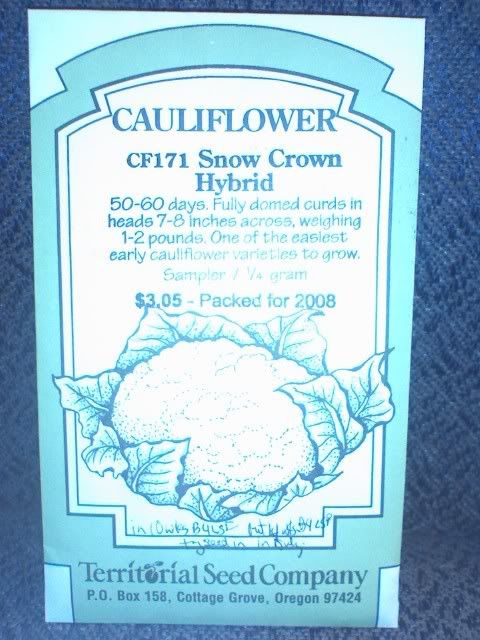
That way I can quickly go through my seed packages and see what I need to plant inside vs. outside and when. Ultimately I'll put the information in a notebook, but I'm not that organized.
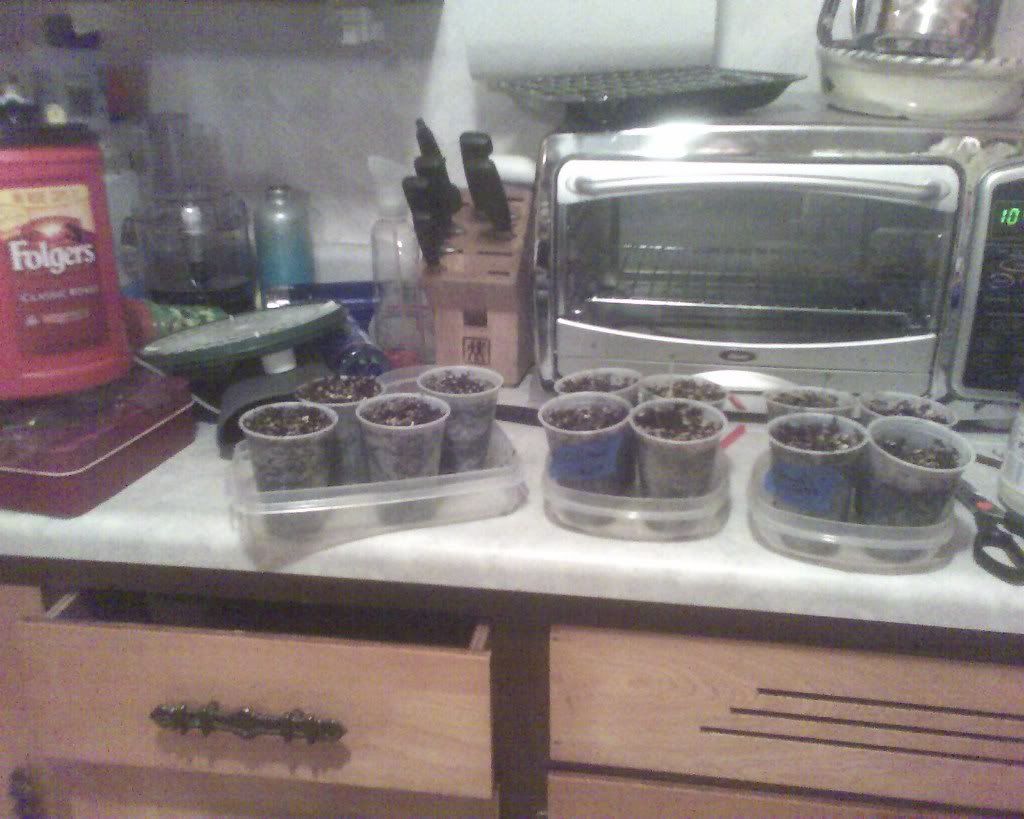
As you probably already know if you've read my posts, I started broccoli and cauliflower first because they're both 10 weeks out from the Last Spring Frost (LSF) which for us is around April 1. Since I have 8 SF devoted to each, and wanted to stagger my plantings, I decided to do 4 of each seeds in a cool whip container (with drainage holes poked in the bottom with a knife tip, widened with a regular screw driver), filled with vermiculite.
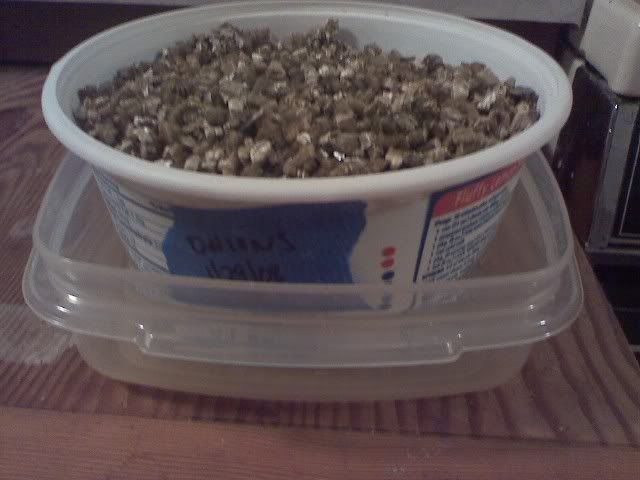
Then I split the container down the middle and planted 4 seeds in each half, labeling each side with blue tape (date and veggie name). If you don't have a 4 year old that loves to poke the holes and has tiny fingers to pick up individual seeds, I recommend filling it with vermiculite a half-inch from the top, put your seeds in the right spots and layer a quarter to half-inch of vermiculite on top. Presto! Seeds planted.
My wife recently replaced our Rubbermaid lunch/leftover containers with new ones since the microwave melted junk onto the old ones. So I dug through the new play toys for the kids and pulled out all the small square containers. A cool whip container fits nicely inside those to catch the run off water. Further I've found you can water the plants by filling the Rubbermaid container with a half-inch of water and setting the cool whip container inside it. The vermiculite soaks up the water through the drainage holes, keeping the growing material moist.
NOTE: I just found out that young seedlings need oxygen more than they need water, leaving standing water in the drip tray for the plants is apparently not a good thing. It can stunt growth and cause root rot. So, after watering, simply lift the cool whip container out of the tray and drain the tray. Hey, if you wanted expert advice, try Judy's blog or the forum links on my page.
Finally, I park the container within a container on top of the refrigerator.
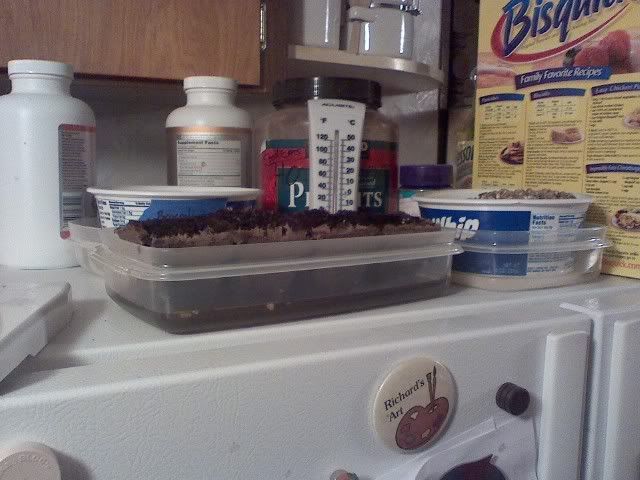
The top of the fridge is one of the warmest places in the house because heat rises. All that's left is to wait... and wait, and wait, until the majority of the seeds sprout even just a bit, then you move it to a window sill where it gets as much sunlight as you can give it (southern facing is normally best).

For me, that place ended up being my son's room. It has a nice wide sill (1x6) and there's even a dresser in front of it if I go hog wild and need more space. I'd just have to open the black-out blind more.
Over time, the plants will look something like this...
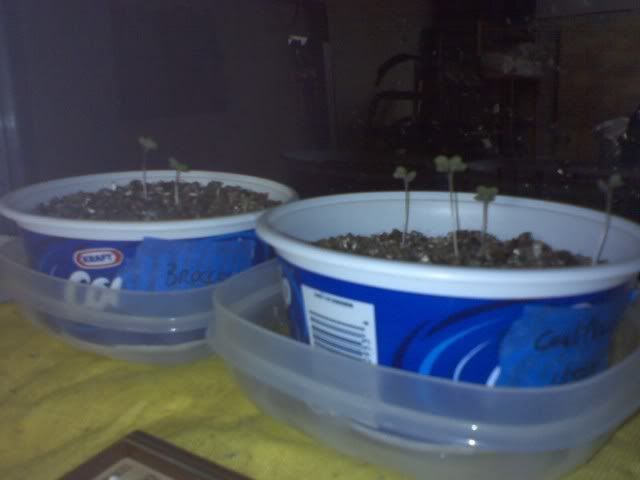
Apparently, this isn't time to transplant into seedling trays. You have to wait until until there's side leaves... As you can see, I tried an odd heating pad method to help the low temps in my garage for these (they were getting better light out there). As I've just learned, I probably shouldn't have put these out there, so they're now parked next to my other starts in the nursery. Supposedly the change in temperature won't shock the plants. Live and learn.
At this point I found that there is a whole forum on GardenWeb about Growing from Seeds. I suggest checking out the FAQ there as well as the Seed Starting Forum at Ft2Garden.com.
So if you've read my threads around early February, 2008, you'll see just how frustrating tempermental seedlings can be, as well as, just how much advice there is out there. One comment from every gardener that's germinated seeds and some who haven't. My advice is to try multiple starts in multiple locations and conditions and see what works for you. I think that's the moral to the story.
So, there comes a point when vermiculite alone provides no nutrients and the seed has given up all it's got. That's when you repot. For this, I chose 9 oz. frosted plastic cups (the green in me wouldn't buy styrofoam). No really, the styrofoam was 16 oz and I thought that was too big. Besides, hopefully I'll be able to see the roots now if they get too bunched up. I used a modified Mel's Mix, though I'm sure straight Mel's Mix is great. My altered potting soil used partial Miracle Gro potting soil in lieu of some of my compost because the Miracle Gro was new and the compost was left over from the blueberry planting of October. Now I just have to worry about watering enough and when to transplant into the garden. The book is clear on that.
For broccoli, that's 5 weeks B4 LSF (Last Spring Frost), or the last week in February for me considering my average LSF is April 1 historically. Do a search on the internet if you don't know yours. It's important for planting. Cauliflower is 4 weeks out so the beginning of March. Looks like I'll be planting on my birthday, what a fun treat! I'm excited to get my dirt and get planting. Unless you winter sow (which I may next year when I have dirt in the winter), you're stuck doing seeds indoors for several months of the year, which drives folks crazy I understand. I don't know any better myself.
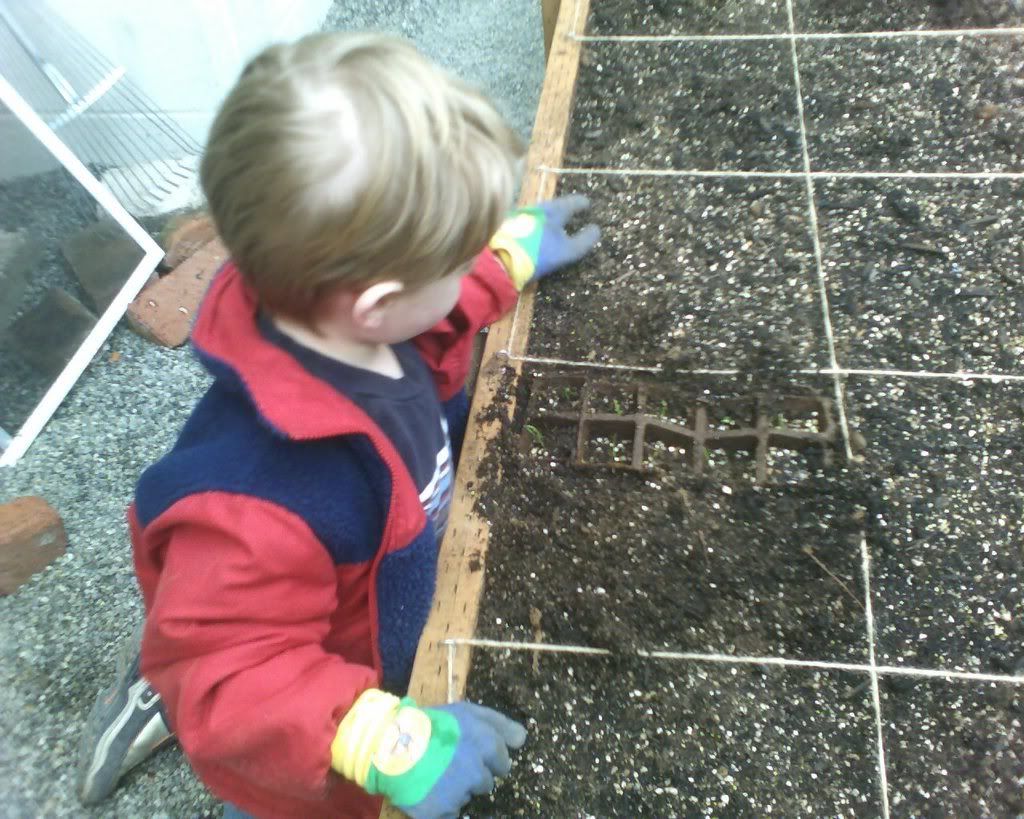
So the wait is over. I planted seeds en-mass on March 9 with my eldest son. I even salvaged 3 of the seedlings you see in the picture above. ALL the rest were toast. I've got to get better at that. It's not a good rate of return, but I'm ok going with seeds. I planted just enough to give us a good start on the season and will plant more in a few weeks so I don't have more food than we can eat at any given time.
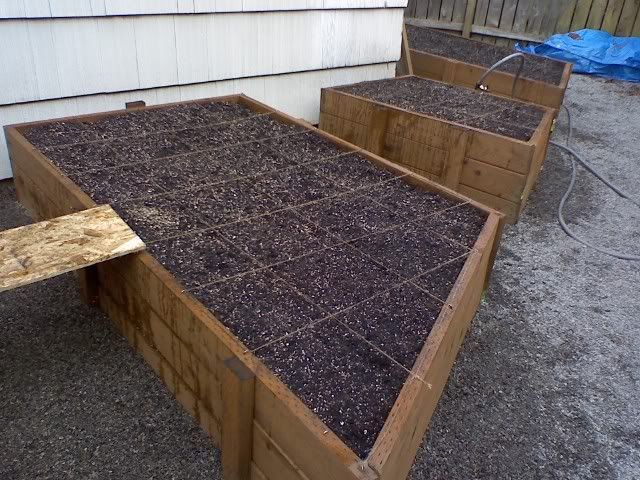
One comment I'll make is that Mel's Mix takes a ton of water to keep moist. It dries out very fast. I soaked it and soaked it and it still dries out fast. I also tried out putting earthworms in the beds. They seemed to not know what to do and a good number of them died. Maybe I'll just find castings for sale. It's as good as gold.
However you get to this point. Just keep the seeds moist and give them time to sprout. Keep the weeds out and give the plants the time to return the favor with a huge harvest!
SPROUTS!!!
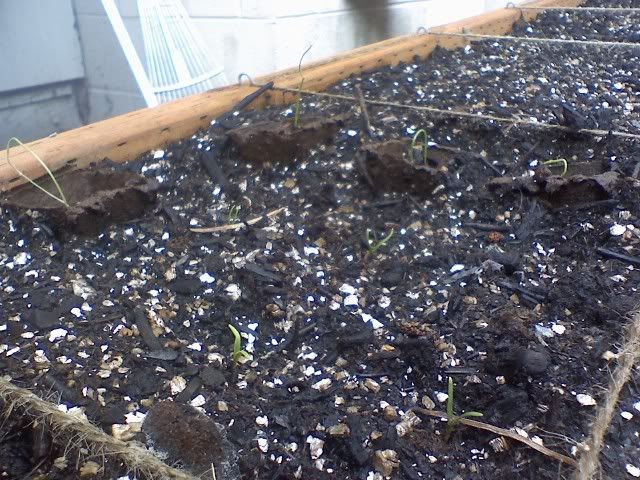
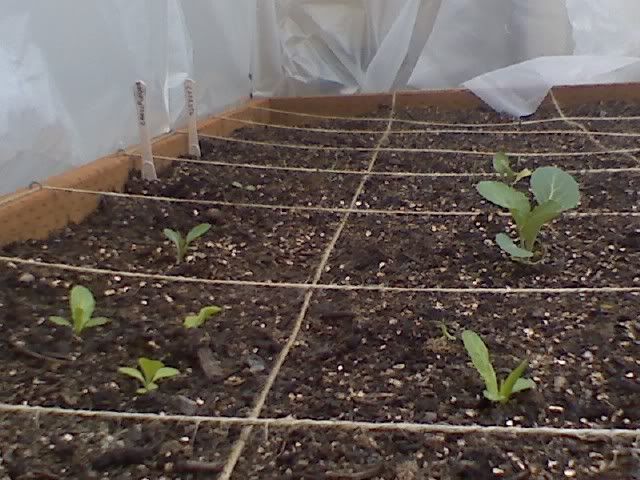
As you can see in the picture above, I transplanted some of the spinach seedlings I started indoors about a week or two before the time to plant them outside. Then I filled in the SF with direct sown seeds. You can see the difference between the seedlings and the sprouts. It was my first attempt at succession planting. This way, I'll have spinach maturing at different times. Note: I need to edit this. Though the concept of succession planting is valid and good. It helps to label your seedlings because the plants in the peat pots are onions, not spinach. I've since transplanted the onions to my onion bed and replanted with spinach in this square. Live and learn. Can you tell this is my first year gardening?
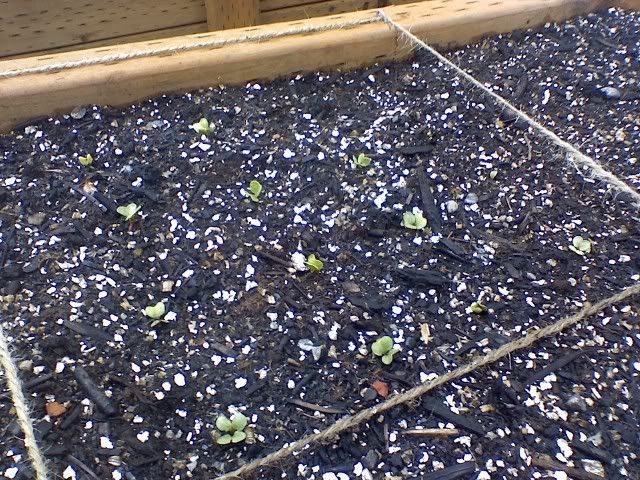
Radishes are a good cool-weather veggie to sow first. They mature very raidly so they provide great enjoyment and a feeling of accomplishment. Believe me that's important after weeks of NOTHING. Besides, these puppies will be ready to eat in a month! NOTE: They weren't ready in a month, try more than 2 months due to the inclimate weather we had. Even though they're cool-weather root crops they need a certain level of warmth to mature. I hope the second planting goes faster (the package says 22 days, yeah right!)
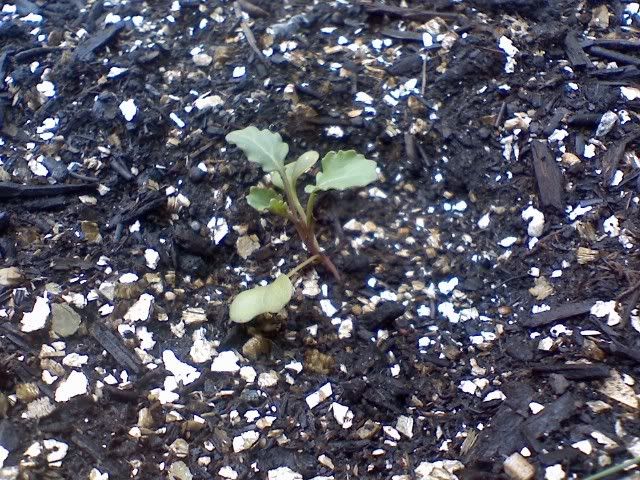
Finally, remember the broccoli seedlings above? Well, even after abandoning the lot of them as a failed experiment, this little guy hung on and transplanted very well (1 of 16 ain't bad when you don't pay any attention to them for a month).
Well, I haven't updated this page for a while. Needless to say I've been tending my garden for a while. We've had frosts and 80 degree weather followed by 4 inches of snow. Wild weather is nothing new for Seattle, but this is insane. I built a hoop cover and put it up for a while. Then took it down, only to race to put it up again before the snow hit. The amazing thing about my seeds and seedlings, is that they're resilient. In 4 days of snow and near freezing temps, my covered seeds sprouted and my seedlings grew at a noticible rate. Ain't Mother Nature grand!?!
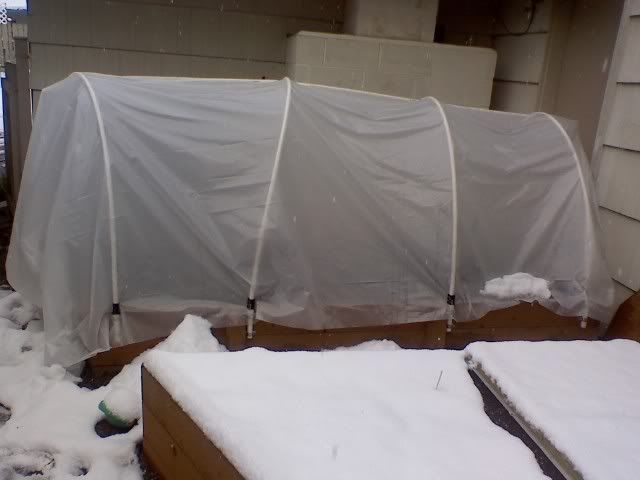
Even with all that snow the seeds thrived under cover. For $23 it was well worth it!
Here's what my broccoli looks like now after not even being covered (it's under the snow in the foreground)...
Cool weather plants especially are very forgiving of cold temps once they've sprouted. I'm glad I sprouted this inside. Though since then as soon as it sprouts it goes in the ground. No more leggy seedlings for me thank you!
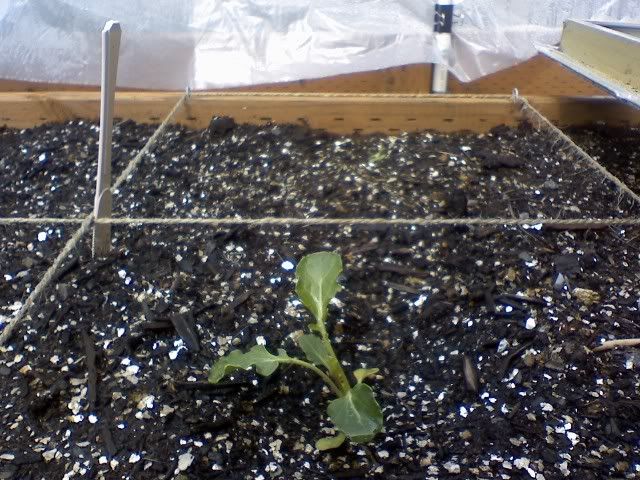
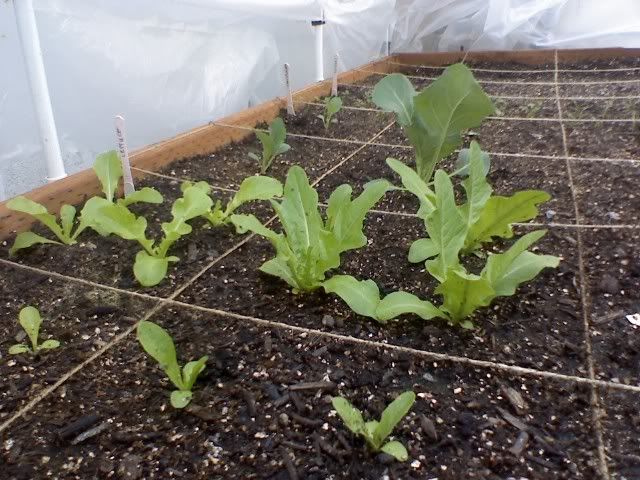
Here's a pic I'm proud of. It's taken from inside my hoop cover after the snow melted and I felt brave enough to be outside taking pictures...
Also note a handy plant identifier I found from someone. Take plastic knives and write on them with permanent marker. So far they've been rained on and snow covered and there's no sign of fading, but if they fade, I'll write over them before I lose track of what it says. Simple and most people have tons of them around the house. Hehe, see the few cauliflower seedlings that I salvaged from my inside planting experience? The one on the right is my best plant!
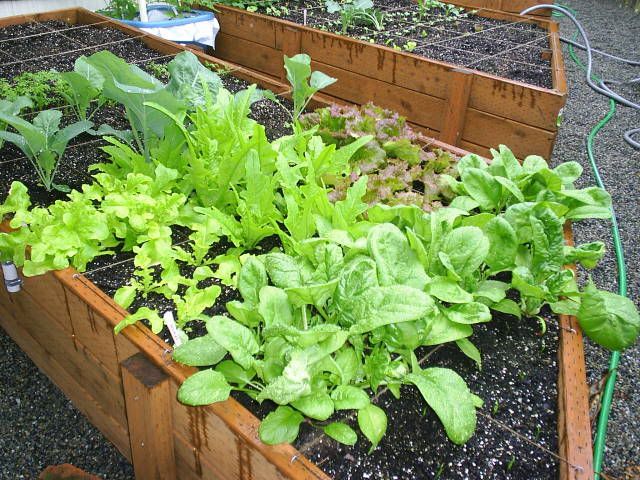
Here it is in blah weather Seattle, mid May and I've still got the hoop cover off, though I'm threatening to remove it for the season. The reason I haven't removed it yet is that the plants are thriving inside the warmth of a mini-green house. Check out the picture less than a month from when the last was taken...
I also bought more makings for hoop covers for all of my beds. I plan on using them all winter to try to extend my season and/or overwinter cold weather crops. I believe the hoop covers will stay on through April to avoid crappy weather in the future. Since no water gets to the crops under the cover, I've taken to misting the roof so it rains inside the tent. The plants like that better than getting blasted by the mist setting on my wand. In fact my broccoli (not pictured) is so weak stemmed that water knocks it over. I hope it hangs in there because it's my best broccoli.
Well, at some point the weather turned enough that the rain and sun mixed to form the perfect growing weather for my greens. In fact, the greens have done so well that we can barely keep up with them, having salads as often as we can. Of course we ran our of radishes and they don't grow THAT fast, so make sure you succession plant even if you don't see progress. You will. Anyway, here's a current pic of my garden and some of the fruits of my labor...
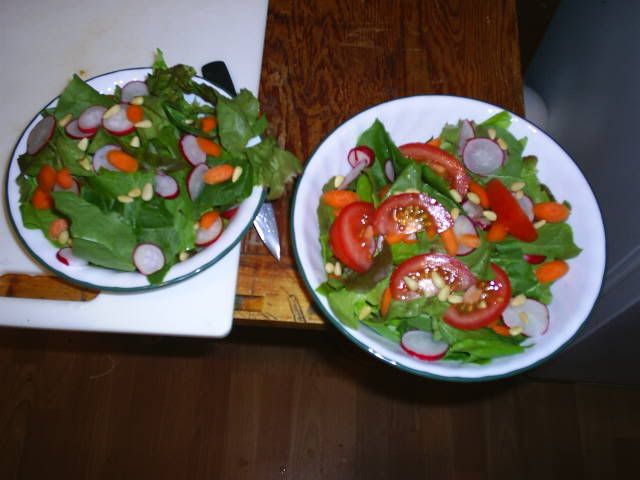
There, From Seed to Table. It's been quite a journey, but patience and a little worrying paid off. Of course those aren't my carrots or tomatoes, but they're growing and some day soon I hope to replace store bought veggies with my very own. They not only taste better, but they're a lot cheaper!
Enjoy your garden!
WOW ! I admire your talent , my thumb is black as coal . My Dear Mother could and did always have a big beautiful garden in Orlando , Fl. She grew enough to can and supply the neighborhood . Bless her heart , I know God has given her a wonderful plot to garden and the finest seeds to be had . Thank you for sharing your wisdom and talents . Mary
ReplyDelete