I know I said it in the last post, but the weather's been less than cooperative this Spring. Not only has my garden suffered, but my chickens have too. Crappy weather is no fun for building a chicken coop. Specifically, I need to paint it to seal the wood from future weather issues, if only I could get around the current ones!
However, I have been doing a few minor things to get ready for painting, then the final push to completion. For instance, I used up the last of the caulking tube of door and window sealant to seal up cracks and holes, mostly in the floor where the wall plywood came to the very edge of the floor plywood, but not an eight of an inch farther.

You can't see it but the gap's there under the window, so that entire wall got a bead of caulk, especially the left hand corner where there was a hole. I also caulked a huge hole in the top where the siding didn't cover the entire wall. I kind of felt silly sealing it since it's right next to the 3 SF whole in my coop for ventilation, but I wanted to be thorough. Silly me. I also caulked as much of the nesting boxes as I could, since I don't want those drafty when the girls are laying their eggs.
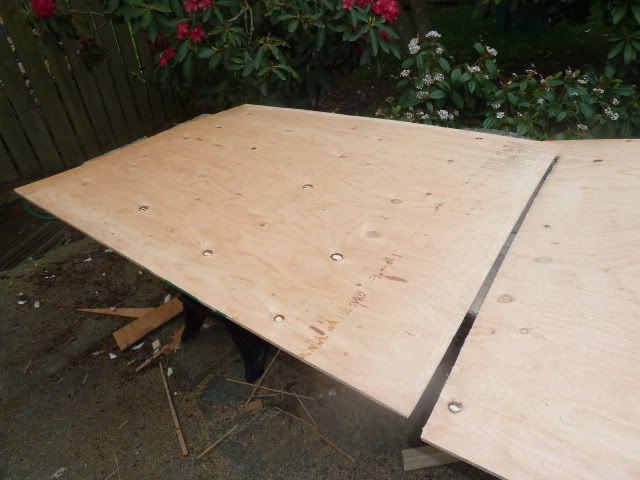
The rest of my work since my huge coop progress post has revolved around cutting plywood. You can see that there's a wall missing in my coop to allow greater access to the interior, but I cut it anyway.
 Alas, for some reason it didn't turn out as perfect as I'd expected, despite precise measurements, so I had to notch the middle a bunch to fit around the rafter holding up the roof. It'll look bad, and likely need more caulking, but it's the back side where no one will see and it's only a chicken coop. Heck, the plywood I used is the warped piece I took off the roof. Who cares.
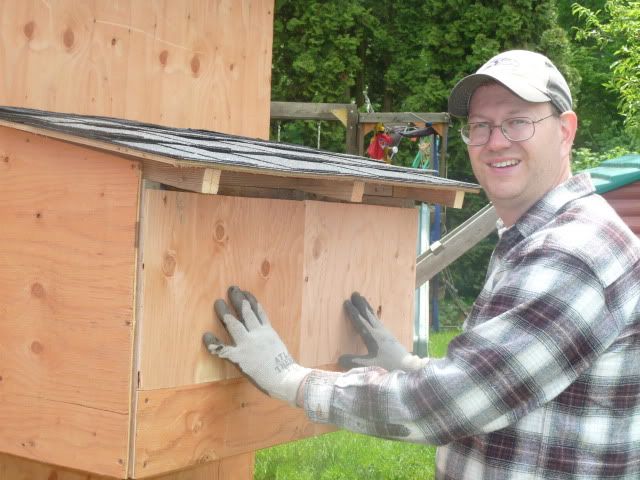
While I had the plywood out, I also cut the doors for the nesting boxes. Those also didn't go in as they need hinges I don't have yet.

The only plywood I actually installed was at the bottom of the back wall. Having it be 4 inches short helped greatly when it came to installing the floor and the chicken door. However, those parts were done so I slapped up some scrap plywood to seal it off.

Whereas the wall on the front side comes precisely to the bottom of the floor, this plywood goes a few inches beyond the floor. I didn't feel like ripping a board a few inches off over a 6 foot length. It's the back where I won't be accessing much if at all. Again, the chickens won't care. Function over form. Oh, and you can't see it very well in this picture, but the bottom piece was a few inches short of 6 feet, so I grabbed another scrap (actually the piece I cut out of the vent shown in the picture above) and threw in a piece to finish it off. Here's a close-up to show just how bad it looks.

Yeah, it looks horrible, but once it's painted, it should look fine. And only the joining seem is prone to gaps because the other three sides have 2x3s to seal it. I plan on throwing some extra paint in the crack to help seal it. Of course I have looked and can see no light. I used the factory edge on both pieces to join them. Best I could do.
So, aside from painting, I have to install some drip edge on the back side to protect the fascia board, install Trex on the bottom boards to protect the boards from rotting, install hinges and hang doors (heaven help me Pam) and install the wire after building the front doors to the run.
Not bad if you think about it. Very doable with decent weather. I expect to paint tomorrow if the weather forecast rings true for a change, then wrap it all up early next week.
Please comment if you have anything to ask or say!
Enjoy!
However, I have been doing a few minor things to get ready for painting, then the final push to completion. For instance, I used up the last of the caulking tube of door and window sealant to seal up cracks and holes, mostly in the floor where the wall plywood came to the very edge of the floor plywood, but not an eight of an inch farther.

You can't see it but the gap's there under the window, so that entire wall got a bead of caulk, especially the left hand corner where there was a hole. I also caulked a huge hole in the top where the siding didn't cover the entire wall. I kind of felt silly sealing it since it's right next to the 3 SF whole in my coop for ventilation, but I wanted to be thorough. Silly me. I also caulked as much of the nesting boxes as I could, since I don't want those drafty when the girls are laying their eggs.
The rest of my work since my huge coop progress post has revolved around cutting plywood. You can see that there's a wall missing in my coop to allow greater access to the interior, but I cut it anyway.
While I had the plywood out, I also cut the doors for the nesting boxes. Those also didn't go in as they need hinges I don't have yet.
The only plywood I actually installed was at the bottom of the back wall. Having it be 4 inches short helped greatly when it came to installing the floor and the chicken door. However, those parts were done so I slapped up some scrap plywood to seal it off.
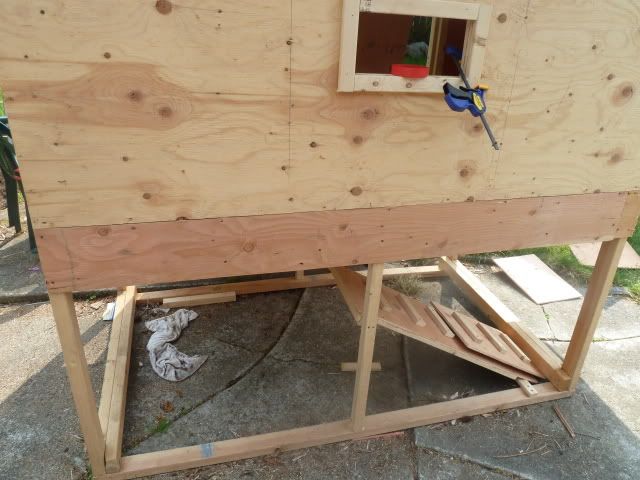
Whereas the wall on the front side comes precisely to the bottom of the floor, this plywood goes a few inches beyond the floor. I didn't feel like ripping a board a few inches off over a 6 foot length. It's the back where I won't be accessing much if at all. Again, the chickens won't care. Function over form. Oh, and you can't see it very well in this picture, but the bottom piece was a few inches short of 6 feet, so I grabbed another scrap (actually the piece I cut out of the vent shown in the picture above) and threw in a piece to finish it off. Here's a close-up to show just how bad it looks.
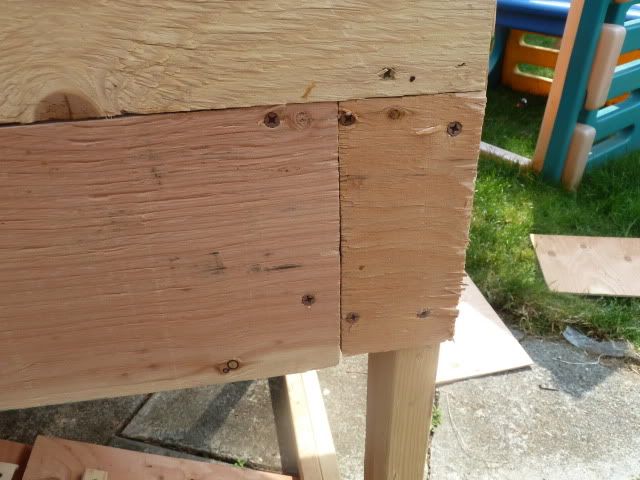
Yeah, it looks horrible, but once it's painted, it should look fine. And only the joining seem is prone to gaps because the other three sides have 2x3s to seal it. I plan on throwing some extra paint in the crack to help seal it. Of course I have looked and can see no light. I used the factory edge on both pieces to join them. Best I could do.
So, aside from painting, I have to install some drip edge on the back side to protect the fascia board, install Trex on the bottom boards to protect the boards from rotting, install hinges and hang doors (heaven help me Pam) and install the wire after building the front doors to the run.
Not bad if you think about it. Very doable with decent weather. I expect to paint tomorrow if the weather forecast rings true for a change, then wrap it all up early next week.
Please comment if you have anything to ask or say!
Enjoy!
That looks great Sinfonian! It is very close to being completed and it will look charming once all painted up. The weather forecast is working in your favor - so we will all expect a "it's finished!" post soon. :D
ReplyDelete