I took an opportunity to finish off my light system, thanks to having a night off without the kids and a helpful sales person at my local True Value.
You see, when I got the lights out of their boxes, I found the chains on the lights far too short to hang from my PVC stand. So off to my local store down the street. It's locally owned and they're always helpful. Sure enough, I got 8 feet of the exact size chain, cut in 2 foot increments. They even showed me how to remove the hook and directed me to the hooks so I can easily adjust the lights.
So, first I laid out the lights on the wood I had to put down to extend the shelf and to have a place to put the trays (which I still don't have).
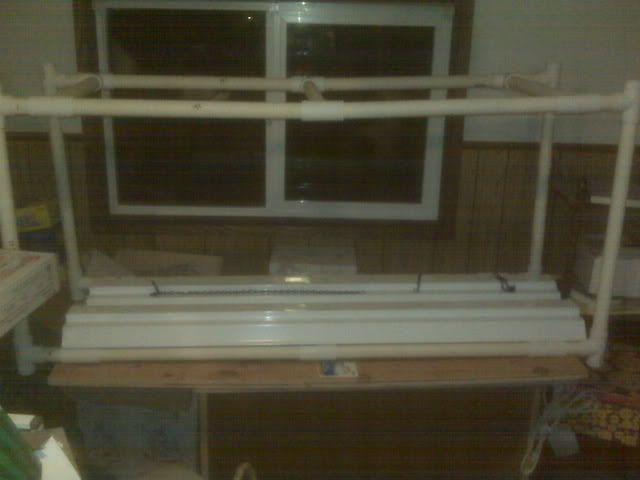
You can clearly see the black chain that ended up being longer than I needed, but I wasn't sure. Then I tested out the chains, and they held like a charm!
I had a bit of a problem installing the bulbs. Funny that the instructions for the fixtures didn't explain that you have to twist the bulbs 45 degrees. Thankfully my father just installed four of these exact light fixtures in his garage a month ago. So one call to him solved my problem of the light not coming on. Of course I had to endure his telling me to pull the chain to turn it on... ha ha ha, very funny.

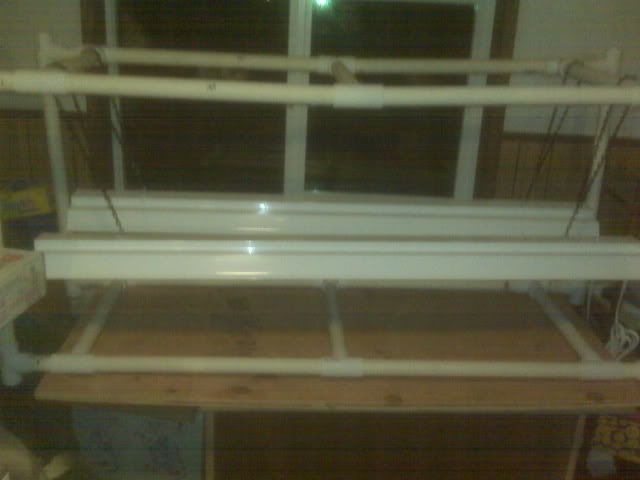
Tada! We have light! Note also that I put down the top board. Now I have a flat surface to place seedling trays. Well, I hope to have a flat surface once the bow comes out of the board. Gonna put some heavy books in the middle to work it out. I'll use books because this room is the "was-to-be" library and we've got TONS of boxes of books in there, hehe. Don't ask me what we'll do with them when it becomes a kid's room, hehe.
Lastly, I thought I'd share a bit about the bulbs. I decided on one Kitchen and Bath bulb and one Daylight bulb. That way I get more of a full red and blue spectrum. Apparently it helps for different stages in the growth of plants. Anyway, I figured it would be impossible to see the different light spectrum with our eyes, that somehow only the plants could tell. But I was wrong. Look at this!

Pretty cool huh? So I'm ready. Actually, all I need it a timer to turn it off and on every twelve hours.
Not sure when I'll get around to finding the seed trays. Maybe I'll splurge and buy the one I posted a few posts ago. Who knows?
Enjoy your garden!
sinfonian, check your pm on the garden web.
ReplyDeleteJohn
I'm planning on working on my light tables today and this week.
ReplyDeleteExcellent set up! You did a great job and this will be a very serviceable set up for years to come. Good work!
ReplyDeleteHi Rich,
ReplyDeleteThe advice about keeping the lights very close to the seedlings is very important. I learned this the hard way. :-)
Sandy
haha, funny he said to pull the chain first. Those fluorescent can be a pain to get locked into place. We have a few in the basement for lighting and clicking them in over head can be problematic.
ReplyDeleteThey should give you lots of light, 12,000 - 20,000 lumens I believe depending on the bulb.
Sinfonian - I hope your lighting setup works great! Mine is gonna get another workout probably next weekend. This is fun stuff!
ReplyDeleteEG
Awesome! Great job! Now you'll have broccoli and cauliflower that aren't leggy.... I think this light setup will make a big difference for you. Funny about your dad telling you to pull the light switch. Ha Ha!!!
ReplyDelete