Last Friday we had the best weather of Spring, meaning it didn't rain and the sun was shining for part of the time. Knowing this was likely going to happen from the weather report, my brother and I had a plan. At 8 AM I called him and my father-in-law to set the ball rolling. My youngest cried and cried when I said he couldn't come, so my folks offered to watch him. Dropped off my eldest at the bus stop and raced to Home Depot. There I cleaned them out of decent 2x3s and bought a handful of sheets of 3/8" CDX plywood. Finally, I picked up most of the hardware needed for the chicken coop for the girls. Yes, Friday was the day it all started in earnest!
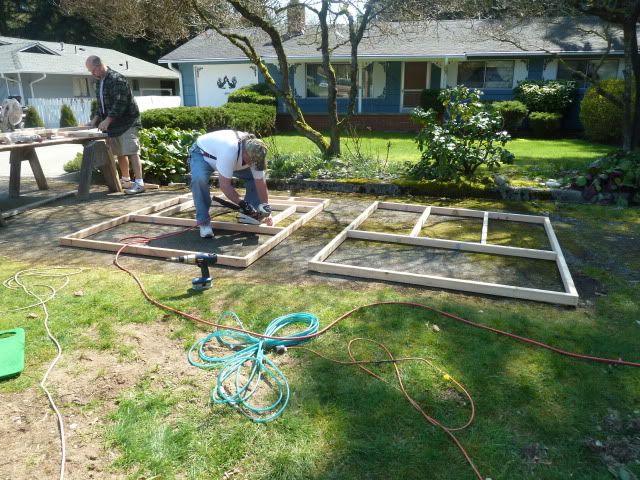
We ended up doing the initial assembly at my folks place as they have a flat paved surface next to their house. We set up there and started cutting.
Sorry, no pics of me, as I was the dolt behind the camera, on my knees screwing in boards. My father-in-law used his nail gun to keep the boards in place for me to then screw them in.
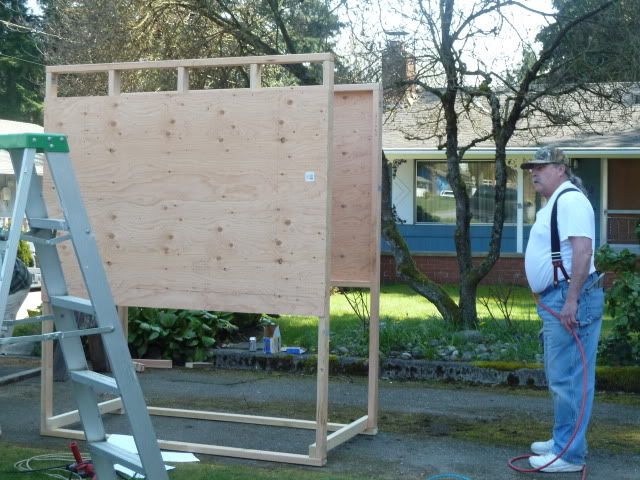
While the wall framing was on the ground, we took the opportunity to put on some of the plywood. Then we stood it up and carefully joined the two walls together.
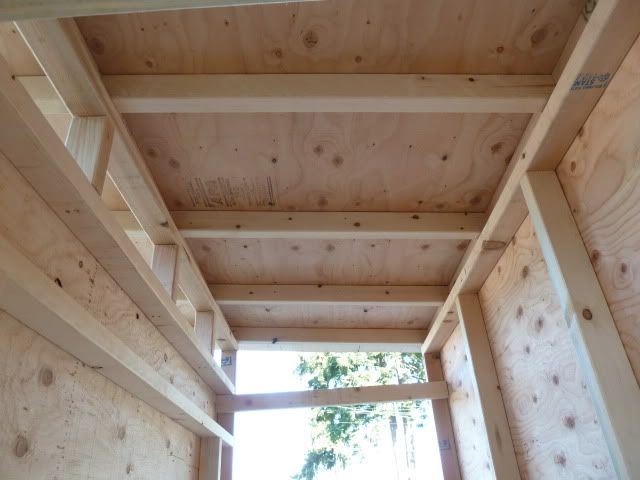
You can see the gap at the top of the facing wall. That is going to be the primary ventilation for the coop. It will be 3 SF which is not quite the recommended amount for 3 birds, but I am still unclear on the proper placement of the louvre vents to create good air flow without creating a draft. I figure they'll be near the top in the middle to keep any air from passing by the roosts on one side and the nesting boxes on the other. I've read tons on ventilation, but the fear of creating a draft is really worrying me.
Oh, and In case you're wondering, I made the front (facing) side 7 feet tall to insure I had enough space to have the nesting boxes about 10 inches higher than the floor to allow for using the deep litter method if I so choose, while still having the boxes be higher than the bedding. Then the roosts have to be higher than the nesting boxes, all while allowing for an indeterminate, as yet, number of lights or heat lamps above that. Since I had 8 foot studs, I had the latitude. We also made the front wall 4 inches higher than the back to allow for rain run-off for a slanted roof. Speaking of the roof...
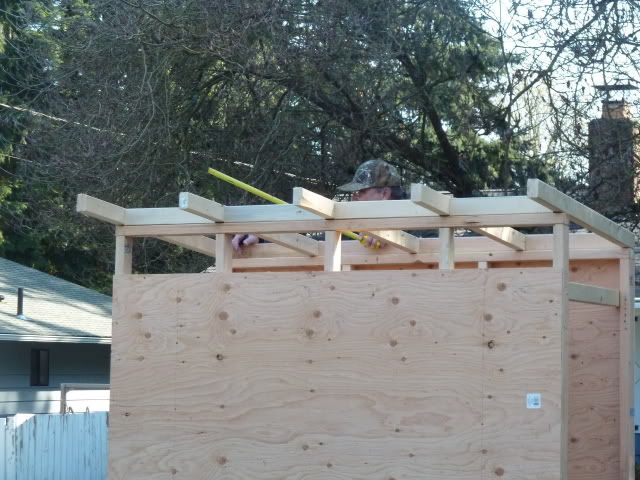
Man the rafters took a long time. Each block between them had to be measured and cut to different lengths. We didn't maintain an exact 16 inches on center. It's a chicken coop after all! The overhang will be about 1 foot to hopefully allow for some rain protection while I'm servicing the unit. Kind of a must for the Pacific Northwet. It also will keep MOST of the rain out of the vent area, which would add water to the coop in a bad way. Unfortunately there's no way to avoid getting water in if we get vertical driving rains, which happens some days in the fall.
As you can see on the left hand side, below the vents (with the block cripples) is an approximate 4x3' door frame that will be cut out, framed with 2x2s and hinged for a service door, right at waist level for me so I can reach all the way in.
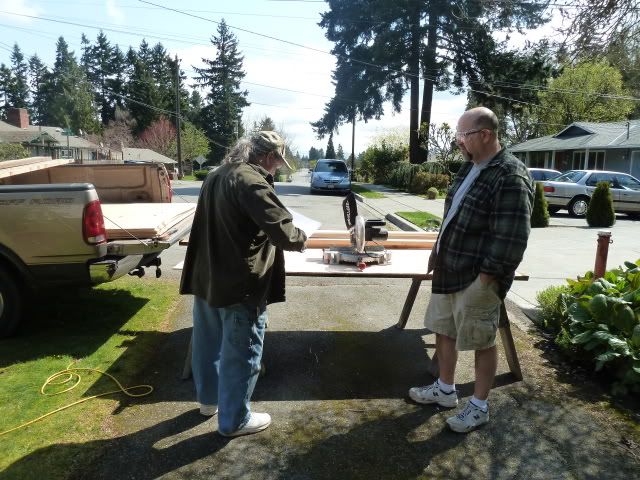
At this point we stopped to cut the frame boards for my brother's coop so we could determine a list for Lowes the next day. Both stores are equidistant from my house and since I bought all the 2x3s Home Depot had and needed 15 more, I got them from the crap Lowes had for sale. I must have went through half a pallet to find 15 boards that weren't bowed, wracked, overly marred or split.
Although the coop is sitting next to my folks house in the front yard, I'm not afraid of anyone taking it. It took my brother and I to lift it slightly and walk it 10 feet, and we're not even half way done adding weight to it. It seems that 2x3s and 3/8" plywood didn't reduce the weight much. However, I feel sorry for my brother who's using 2x4s since he had so much scrap (about half the frame's worth). What he's saving in money will be offset by the weight of the final product. It's been decided that before we add any more weight to it, we're moving it to my house. It's going to be tough enough to get it into my brother's truck to transport it here as-is, let alone when it's finished.
We only worked Friday, and not Saturday, despite the nice weather, because everyone wanted to get ready for Easter. Since then it's been a combination of bad weather and a family get-together, so nothing more's been done, but I plan on doing more just as soon as the weather improves, and certainly not waiting for the weekend. Boy the girls are getting big, I figure we've got one month to finish this before they go outside.
Hope you've enjoyed seeing my coop progress.
Enjoy your garden!

Very nice construction......
ReplyDeleteThe project is underway! How fun that it is a family affair. Nothing makes work easier like another pair of hands and some fun conversation.
ReplyDeleteThat looks like it's built to last! Do you have any plans for securing it once it's in place? It looks like it may be top heavy and catch a gust of wind easily. I'm looking forward to see how the project finishes up.
ReplyDeleteYay! The coop construction is underway. At least your crew will get some practice on your coop, the second one for your brother will be easy :)
ReplyDeleteIt will be a nice coop when it is all done. I figure if I can't get my neighbors to cut down their maple tree and it grows 60' tall, I'll have room for a coop.
ReplyDelete